Why Proper Bathroom Ceiling Fan Installation Matters
Bathroom ceiling fan installation is one of the most effective ways to protect your home from moisture damage, mold, and poor air quality — and it’s a project many Northeast Ohio homeowners can tackle themselves with the right guidance.
Here’s a quick overview of what the process involves:
- Turn off power at the circuit breaker and verify with a voltage tester
- Cut the ceiling opening between joists and mount the fan housing
- Connect the wiring — black to black, white to white, ground to ground
- Run ductwork to an exterior vent (never into the attic)
- Test the fan and seal all duct joints with foil tape
The bottom line: A straightforward fan replacement typically takes 3–4 hours. If your home has outdated wiring, no existing duct, or needs a new circuit, plan for more time — or call a licensed electrician.
Without proper ventilation, bathroom surfaces stay wet after every shower. That trapped moisture can peel paint, warp wood, and create conditions where mold takes hold — problems that cost far more to fix than a new fan. A quality ENERGY STAR exhaust fan typically ranges from $120 to $250, plus $15–$40 in supplies, making it one of the more affordable home improvements available. Professional installation costs vary depending on ceiling height, wiring complexity, and duct routing, so it’s worth getting a local estimate.
I’m Aaron, owner of Buckeye Electrical Solutions LLC and a master electrician with experience overseeing dozens of permitted residential projects across Northeast Ohio — including many bathroom ceiling fan installations in homes with everything from simple replacements to full wiring upgrades. In the sections below, I’ll walk you through everything you need to know to do this right.
Terms related to bathroom ceiling fan installation:
Benefits and Sizing for Bathroom Ceiling Fan Installation
Installing a high-quality bathroom ventilation system offers multiple layers of protection for your home. Beyond clearing a foggy mirror after a hot shower, a properly installed exhaust fan actively draws out humid, stale air and replaces it with drier, cleaner indoor air.
High moisture levels in a bathroom often lead to wood rot in the wall framing, peeling paint, rusted light fixtures, and mold spores that compromise your indoor air quality. By keeping relative humidity levels in check, you prevent these issues before they start, protecting both your family’s respiratory health and your home’s resale value. For more details on the structural benefits of ventilation, you can read How to Install a Bathroom Fan: A Step-by-Step Guide — Bob Vila.
Selecting the right fan involves balancing physical dimensions, airflow capacity, and noise levels. Let’s look at how to size your new unit correctly.
Sizing and CFM Requirements for Bathroom Ceiling Fan Installation
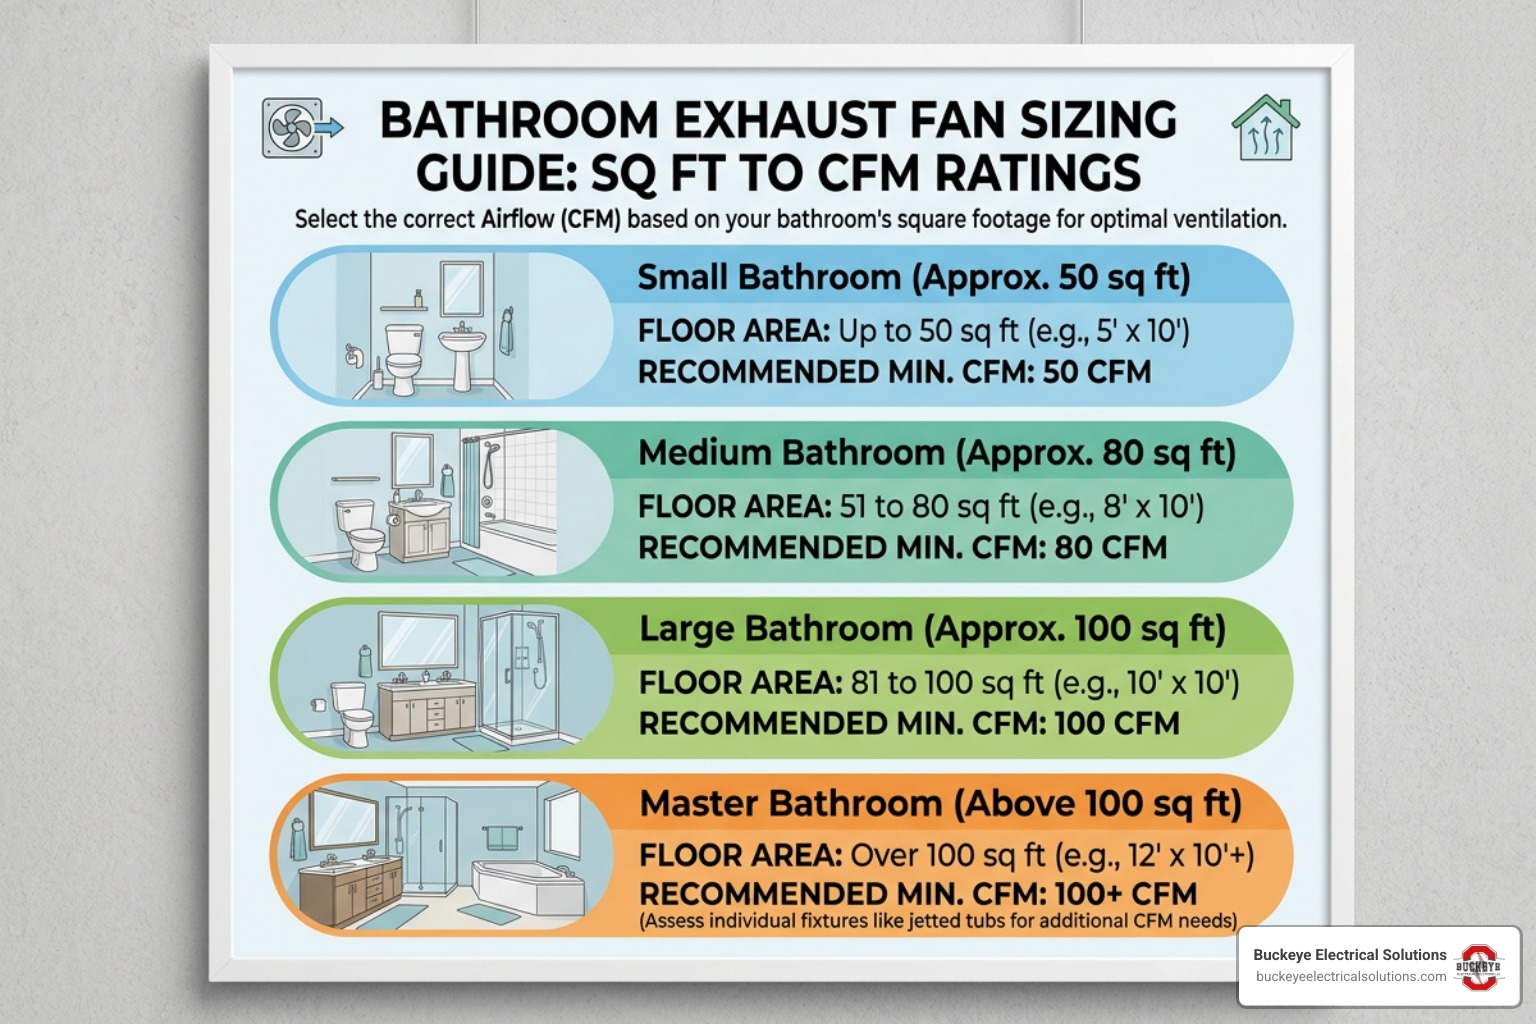
Airflow for exhaust fans is measured in Cubic Feet per Minute (CFM). If your fan’s CFM rating is too low, it won’t clear the moisture quickly enough; if it is too high, you will waste energy and pull conditioned air out of your home unnecessarily.
A common planning estimate for standard bathrooms is to provide 1 CFM of ventilation for every square foot of floor space. For example, a 70-square-foot bathroom typically requires at least a 70 CFM fan.
To be more precise, especially in bathrooms with ceilings higher than 8 feet, you can calculate the required CFM using the cubic volume formula:
- Multiply the bathroom’s square footage by the ceiling height to find the total cubic volume.
- Multiply this volume by 0.13 (the standard air exchange factor).
- Round the result up to the nearest 10.
For example, a 70 sq. ft. bathroom with 9-foot ceilings has a volume of 630 cubic feet. Multiplying 630 by 0.13 gives 81.9 CFM. Rounding up, you would want a fan rated for at least 90 CFM. If you have a larger bathroom with a jetted tub, separate water closet, or high-humidity fixtures, you may need to add an extra 50 CFM to your baseline calculation. For more tips on sizing and ceiling preparations, check out Mastering Ceiling Fan Installation: A Homeowner’s Handbook.
Noise Levels and Features in Bathroom Ceiling Fan Installation
Noise level is measured in sones. One sone is roughly equal to the sound of a quiet, modern refrigerator running in a peaceful kitchen.
- 0.3 to 1.0 sone: Near-silent operation. High-performance models (such as those from leading ENERGY STAR brands) operate in this range, allowing you to enjoy a relaxing bath without a roaring background hum.
- 1.5 to 2.0 sones: Comfortable and perfectly acceptable for daily use.
- 3.0 to 6.0 sones: Extremely loud. Older or cheaper fans often operate in this range and can sound like a jet engine, which often discourages homeowners from turning them on at all.
Modern fans also come packed with convenient features. You can find units with built-in LED lighting, integrated heaters for cold Ohio winters, motion sensors, and automated humidity sensors that turn the fan on automatically when moisture levels rise. When mounting these advanced units, ensuring a secure fit to your ceiling structure is critical. You can learn more about securing heavy ceiling fixtures in The Ultimate Guide to Attaching a Ceiling Fan.
Step-by-Step Guide to Installing a Bathroom Fan
Whether you are performing a roomside retrofit or running a brand-new line through your attic, following a systematic process ensures a safe and durable installation.
Preparing the Ceiling and Mounting the Housing
If you are replacing an existing unit, you can often find a “roomside” or “no-cut” retrofit model that allows you to swap the fan housing entirely from below without stepping foot in your attic.
If you are putting a fan in a new location, follow these preparation steps:
- Locate the joists: Use a stud finder to find the ceiling joists. Your fan housing must mount directly to a joist or to wooden blocking installed between the joists for proper support.
- Trace the template: Most manufacturers provide a cardboard template. Place it against the ceiling, ensuring one side aligns with the joist, and trace around it.
- Cut the drywall: Wearing safety glasses, use a drywall saw to carefully cut along your traced line. Be mindful of potential hidden electrical cables behind the drywall.
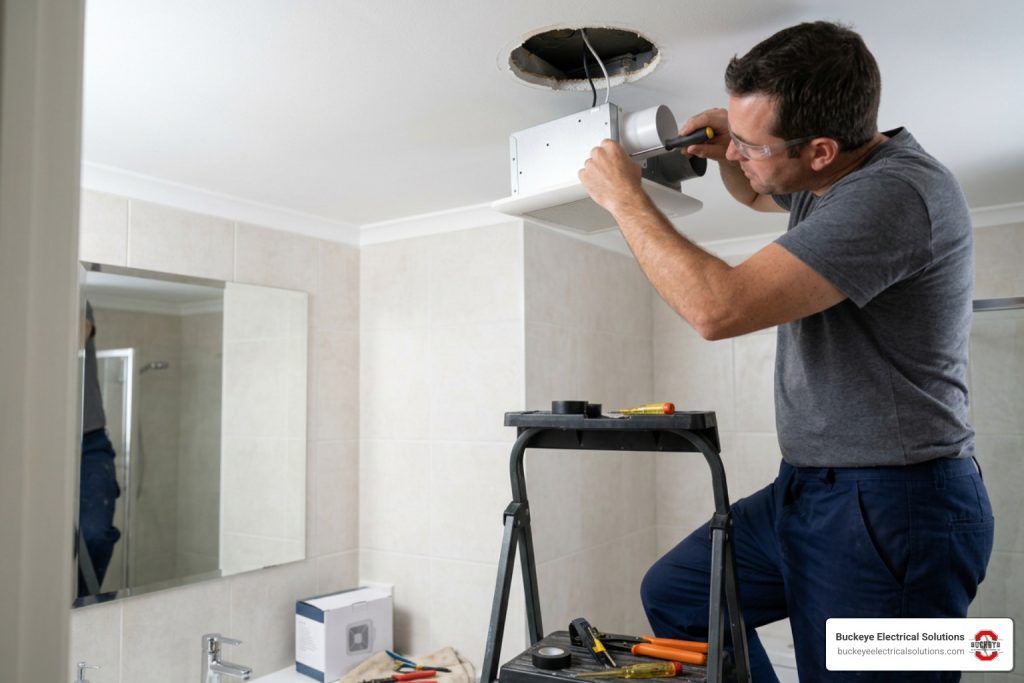
- Mount the housing: Insert the fan housing into the ceiling opening. Secure it to the joist using the manufacturer’s mounting brackets or screws. Ensure the housing sits flush with the finished ceiling drywall.
For a deeper dive into mounting boxes and brackets securely, refer to Junction Box Basics: Attaching Your Ceiling Fan Securely and read this practical guide on how to Replace a Bathroom Fan in a Finished Ceiling.
Wiring and Electrical Connections
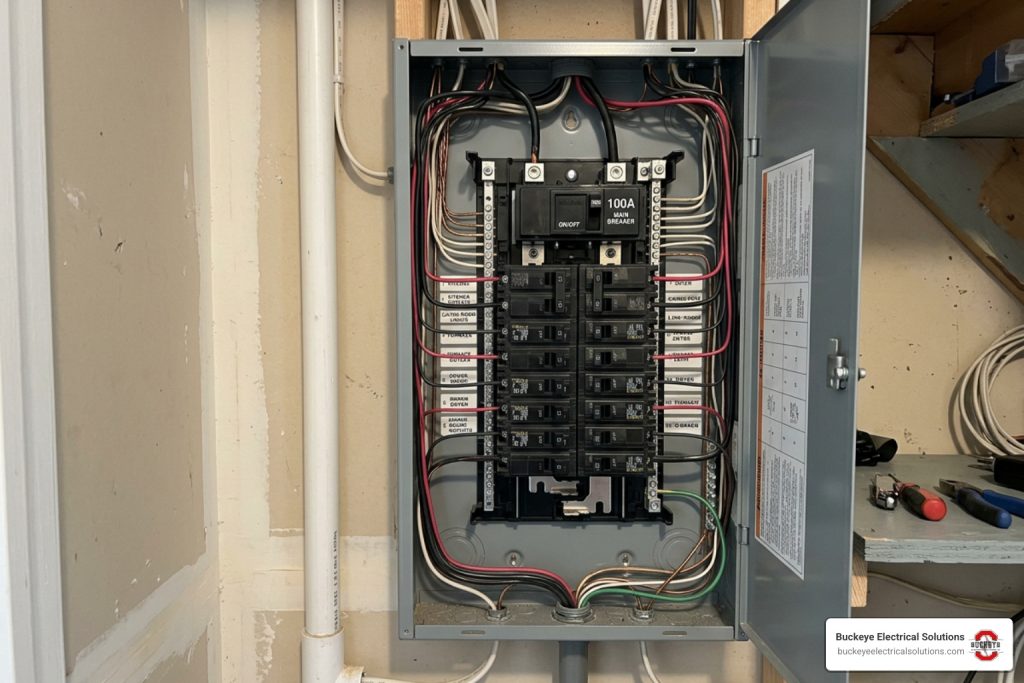
Working with electricity requires absolute caution. Turn off the power at the main circuit breaker panel and verify that the wires are completely dead using a non-contact voltage tester before touching any connections.
- Access the junction box: Open the electrical cover plate on the side of the fan housing.
- Pull the supply cable: Feed the electrical supply cable (typically 14/2 or 12/2 NM-B wire) through a cable connector into the fan’s junction box.
- Connect the wires: Connect the black (hot) supply wire to the black fan wire, the white (neutral) supply wire to the white fan wire, and the bare or green (ground) wire to the fan’s green ground wire. Secure each connection using UL-approved wire nuts.
- Tuck and secure: Carefully fold the wires back into the junction box and screw the cover plate back on.
If you are installing a fan-and-light combination unit, you may need a double switch to operate the light and fan independently. For detailed wiring layouts, see Switch It Up: Your Guide to Wiring a Ceiling Fan Light Switch and Don’t Get Zapped: The Ultimate Guide to Wiring Your Bathroom Fan and Light.
Proper Ductwork and Venting to the Outside
Venting your bathroom fan correctly is the most critical step of the entire installation. A typical bathroom exhaust fan moves only about half of its rated airflow when choked by poor duct choices or restricted pathways.
- Duct Selection: Typically, 4-inch or 6-inch round rigid metal ducting is recommended because its smooth interior walls minimize resistance and maximize airflow. If you must use flexible ducting, keep the run as short and straight as possible, and ensure it is fully extended without kinks.
- Insulation: In unconditioned spaces like Ohio attics, wrap your ductwork in insulation. This prevents warm, moist air from condensing into liquid water inside the cold pipe, which can run back down and ruin your fan motor or ceiling drywall.
- Termination: Run the ductwork directly to the outdoors through a dedicated roof cap or a sidewall vent hood. Do not vent into an attic, soffit, or crawlspace.
For technical ducting specifications, you can review the Broan InVent Series 70 CFM Ceiling Exhaust Bath Fan with Light : Installation Guide or look over the Bathroom Ceiling Fan Installation Instructions.
Common Mistakes and Ohio Code Compliance
When planning your bathroom ceiling fan installation, keeping local building codes in mind is essential. Ohio jurisdictions may apply the 2023 National Electrical Code (NEC) or other adopted code requirements, depending on your specific location and project scope.
Furthermore, unpermitted or non-code-compliant electrical and structural work can complicate insurance claims if water damage or electrical issues occur down the line.
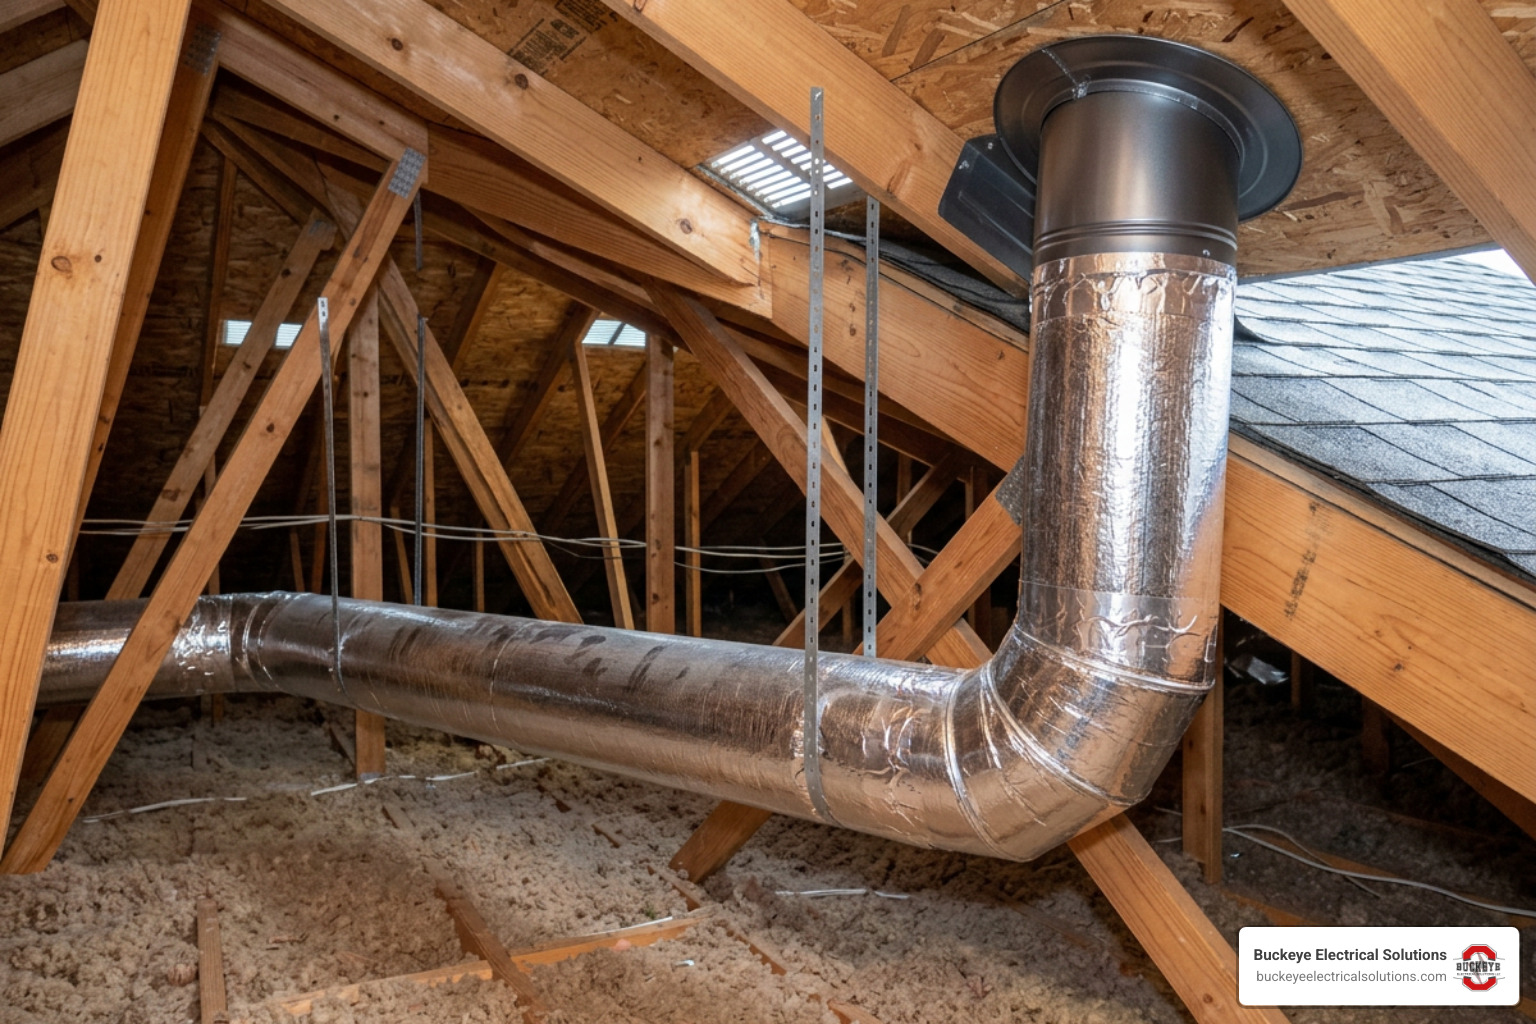
Here are the most common installation errors we see in Northeast Ohio homes:
- Venting into the attic: Dumping humid bathroom air directly into your attic space causes severe moisture buildup, leading to rotted roof decking and mold on your insulation.
- Improper duct routing: Creating too many sharp 90-degree bends or using sagging, uninsulated flex duct drastically reduces the fan’s actual CFM output.
- Skipping the GFCI: Ohio’s 2023 NEC adoption includes expanded Ground Fault Circuit Interrupter (GFCI) requirements in several locations, qualifying specific rules as situational rather than universal. Generally, if a fan is installed directly over a tub or shower zone, it typically must be connected to a GFCI-protected branch circuit, subject to local authority having jurisdiction (AHJ) approval.
- Using duct tape: Standard grey duct tape degrades quickly under heat and humidity. Typically, you should seal all duct joints with high-quality aluminum foil HVAC tape.
For professional insights on local installation standards, you can read about Northeast Ohio installation guidelines or explore local electrical considerations. Additionally, for general DIY safety, refer to How to Install a Bathroom Exhaust Fan – Lowe’s.
Troubleshooting Common Installation Issues
| Installation Issue | Likely Causes | Priority Level | Action to Take |
|---|---|---|---|
| Fan does not turn on | Outlet has no voltage; could indicate breaker, GFCI, switch, or wiring issue | High | Check panel breaker; test switch wiring; inspect GFCI outlets on the circuit |
| Excessive noise/rattling | Housing loose against joist; fan blade hitting housing; improper wiring path | Medium | Tighten mounting screws; check blower wheel alignment; verify duct runs are secure |
| Weak airflow (Tissue test fails) | Blocked exterior vent; disconnected duct; run is too long or kinked | Medium | Inspect exterior wall cap or roof vent; check attic duct connections for leaks |
| Water dripping from fan grille | Condensation in uninsulated duct; roof cap leak | High | Wrap duct in R-value insulation; inspect roof flashing around exterior vent |
Frequently Asked Questions about Bathroom Ventilation
Can I install a bathroom exhaust fan directly over a bathtub or shower?
Yes, in many cases you can install an exhaust fan directly over a tub or shower, but it is subject to strict safety rules under applicable codes and local enforcement. Typically, the fan model must be explicitly rated and UL-listed for “wet locations.” Additionally, it must be connected to a GFCI-protected branch circuit to protect against electrical shock in high-moisture zones, subject to AHJ approval.
Do bathroom exhaust fans need to be vented outside?
Yes. Outdoor venting is absolutely necessary to prevent severe moisture damage. Venting a fan into an attic, floor joist cavity, or soffit overhang simply transfers the moisture to another enclosed part of your home, where it will eventually rot wood, ruin attic insulation, and foster mold.
When should I hire a professional electrician for my installation?
While a straightforward swap of an existing fan can be a manageable DIY project, you should hire a licensed electrician if:
- Your bathroom has no existing fan and requires cutting new ceiling holes, running new wiring, and installing new ductwork through the roof or exterior walls.
- You have an older home with outdated wiring (such as knob-and-tube or ungrounded circuits).
- Your new fan includes a high-draw heater or advanced features that are often best served by dedicated circuits, depending on load.
- You feel uncomfortable working on a ladder, handling live electrical panels, or cutting through your home’s exterior envelope.
If you are dealing with tricky wiring situations, you can learn more about navigating your options in Don’t Get Zapped: Navigating Electrical Repair Options in Ohio.
Conclusion
A properly executed bathroom ceiling fan installation is a vital investment in your home’s structural integrity and your family’s daily comfort. By choosing the correct CFM size, managing sone levels, routing insulated ductwork directly to the outdoors, and adhering to local Ohio electrical codes, you can keep your bathroom dry and mold-free for years to come.
If you run into complicated wiring, need a new dedicated circuit run to your electrical panel, or simply want the peace of mind that comes with professional execution, the team at Buckeye Electrical Solutions is here to help.
As a trusted electrical contractor in Northeast Ohio with over 20 years of experience, we provide top-tier residential electrical repair, installation, and maintenance. We are known across the region for our exceptional service, code-compliant craftsmanship, and prompt project completion. All of our service estimates are subject to change and dependent on local site conditions or AHJ requirements, ensuring you get an accurate, fair plan tailored specifically to your home.
Ready to upgrade your bathroom ventilation or tackle other household electrical projects? Explore our residential electrical services or contact us today to schedule your consultation!