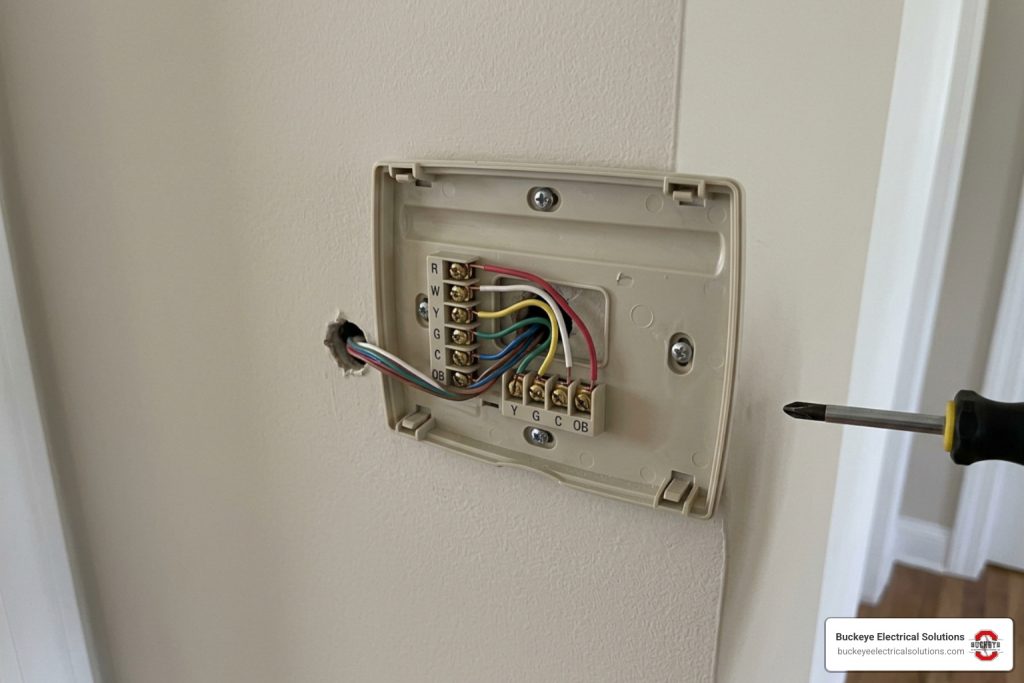

Adding a Ceiling Fan to a Light Fixture: What You Need to Know First
Adding a ceiling fan to a light fixture location is a realistic project for many handy homeowners, but some situations call for a licensed electrician. Here’s the short answer:
Can you replace a light fixture with a ceiling fan?
- Yes — the existing ceiling wiring may be enough to power a fan and light.
- But — it may not give you the separate fan/light control configuration you want without a remote, smart control, or added wiring.
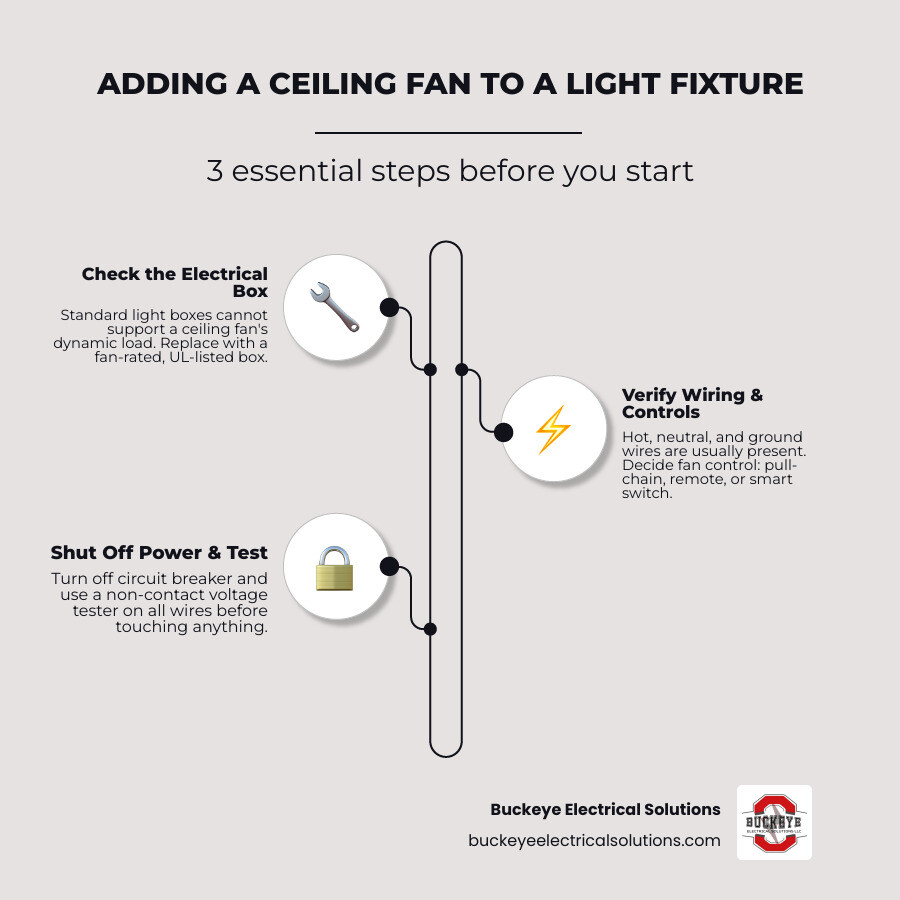
- Most important — a standard light fixture box must be replaced with an electrical box specifically listed for fan support before mounting the fan.
- Safety first — shut off the breaker and verify the wires are dead with a non-contact voltage tester before touching anything.
A standard ceiling light sits still. A ceiling fan spins, vibrates, and creates dynamic force that a regular fixture box is not built to handle. Homeowners often discover mid-project that the existing box is loose, not fan-listed, or that the old switch wiring will not control the fan and light the way they expected.
I’m Aaron Estep, owner of Buckeye Electrical Solutions LLC and a master electrician who has helped Northeast Ohio homeowners through adding a ceiling fan to a light fixture safely and to code. This guide explains what to check before you start, how the wiring and controls work, and when it is smarter to call a pro.
For related help, see our guides on attaching a ceiling fan, ceiling fan installation, and ceiling fan downrod installation.
Assessing Your Ceiling Box for Adding a Ceiling Fan to a Light Fixture
Before buying a fan or stripping a wire, confirm the ceiling box is safe for fan support.
A standard overhead light box is made for static weight — a fixture that hangs still. Many are thin plastic or lightweight metal and may be fastened with small nails or screws. That can be fine for a light fixture, but not for a spinning fan.
A ceiling fan adds movement, vibration, and rotational force. Over time, those forces can loosen or damage an ordinary fixture box.
To safely support a fan, the electrical box must be specifically listed for ceiling fan support. Fan-support boxes vary by model, material, installation method, and weight rating, so do not assume every heavy-looking box is acceptable. Look for labeling such as “Acceptable for Fan Support,” and follow the box and fan manufacturer’s instructions.
To check your existing box, turn off power, remove the old light, and look inside the box for the fan-support marking. If you do not see it, or if the box is flimsy, loose, or poorly attached, replace it with a listed fan-support box mounted to a joist or approved brace.
For more detail, read our guide on Junction Box Basics: Attaching Your Ceiling Fan Securely or review Hunter Fan’s guide on replacing a light fixture. For hardware details, see Ceiling Fan Fastener Installation.
Understanding the Existing Wiring and Control Options
After the box is verified or replaced, look at the wiring from the old light. A typical single-switch ceiling box may include:
- A hot wire (usually black), carrying switched power.
- A neutral wire (usually white), completing the circuit.
- A ground wire (bare copper or green), providing a fault path.
A fan with a light kit usually has a black fan motor wire, a blue light wire, a white neutral, and a green ground. For more switch wiring detail, see Switch It Up: Your Guide to Wiring a Ceiling Fan Light Switch.
Wiring Challenges When Adding a Ceiling Fan to a Light Fixture
The biggest limitation is control. If the old light used one wall switch, the ceiling box may have only one switched hot conductor. Connecting both the fan motor wire and light kit wire to that same conductor powers both from the same switch.
To control the fan and light independently with two traditional wall switches, an electrician may need to run 14/3 cable from the switch box to the fan location. That adds a second switched conductor, but fishing cable through finished walls can be messy and costly.
For a wiring basics refresher, see Power Up Your Knowledge: A Beginner’s Guide to Home Wiring.
Control Solutions for Adding a Ceiling Fan to a Light Fixture
You may not need to open walls. Common options include:
- Pull-chain fans: Leave the wall switch on and use the fan’s chains for light and speed control.
- Remote-controlled fans: A receiver in the canopy uses the existing hot and neutral while the remote controls fan speed and light operation.
- Smart fan controls: Some systems provide wall-style or app control through a receiver without new 14/3 wiring.
For more on single-wire smart control, see Smafan’s guide on replacing a light fixture with a ceiling fan.
Step-by-Step Guide to Replacing Your Light with a Fan
Here is the basic process for safely adding a ceiling fan to a light fixture location.
Step 1: Shut Off the Power and Verify Safety
Turn off the correct breaker, not just the wall switch. Back in the room, confirm the light is off and use a non-contact voltage tester at the ceiling box before touching wires.
Step 2: Remove the Old Light Fixture
Remove the globe or canopy, test every conductor again, then disconnect the old fixture. Take a phone photo of the original wiring before separating wires.
Step 3: Install a Fan-Support Box and Brace
If the existing box is not listed for fan support, remove it. Without attic access, a retrofit brace bar can often be inserted through the ceiling opening and tightened between joists. Attach the listed fan-support box to the brace or framing according to the manufacturer’s instructions.
Step 4: Attach the Mounting Bracket
Fasten the fan’s mounting bracket to the fan-support box using the screws supplied or approved for that box and fan. Tighten everything securely to reduce wobble.
Step 5: Assemble and Hang the Fan
Run the fan wires through the downrod if used, secure the downrod to the motor housing, and hang the fan motor in the bracket so both hands are free for wiring.
Step 6: Connect the Wires
Connect grounds together, then connect the fan neutral to the house neutral. If no remote receiver is used, connect the fan motor and light wires according to the fan instructions and your control setup.
If using a remote receiver, connect the receiver input wires to the house supply wires, then connect the receiver output wires to the fan motor, light, and neutral leads. Secure each splice with listed wire connectors and tuck the wiring neatly into the box and canopy.
Step 7: Mount the Blades and Light Kit
Install the canopy, attach blade brackets and blades, connect the light kit if included, and install approved bulbs and shades.
Step 8: Restore Power and Test
Turn the breaker back on. Test the fan at low speed first and watch for wobble, humming, or control issues.
For more help, read Mastering Ceiling Fan Installation, Bob Vila’s ceiling fan installation guide, or The Jim BoSlice Workshop’s fixture-to-fan guide.
Sizing, Clearance, and Code Requirements in Ohio
A safe fan installation also depends on the right fan size and clearances. Common ENERGY STAR guidance recommends:
- Blade height: Fan blades should generally be 7 to 9 feet above the finished floor.
- Ceiling clearance: Blades should sit about 8 to 10 inches below the ceiling for good airflow.
- Wall clearance: Blades should be at least 18 inches from walls.
If your ceiling is low, choose a low-profile or “hugger” fan. For high or vaulted ceilings, use the correct downrod length and mounting kit. See our guide on ceiling fan downrod installation for sizing help.
As a general room-size guide:
- Up to 144 sq. ft.: 36-inch to 42-inch fan.
- 144 to 225 sq. ft.: 44-inch to 48-inch fan.
- 225 sq. ft. and larger: 52-inch or larger fan.
For brand selection, see our guide to the Best Ceiling Fan Brands.
Ohio Electrical Code Considerations
Electrical requirements can vary by Ohio municipality and by the scope of work. For a simple fan replacement, the key practical points are to use a box listed for fan support, follow manufacturer instructions, maintain proper grounding, and use controls rated for ceiling fan motors. If the project involves new wiring, a new circuit, damp or wet locations, older wiring, or uncertain existing conditions, check with the local authority having jurisdiction or hire a licensed electrician.
Troubleshooting Common Installation Issues
After restoring power, watch for these common problems:
- Fan wobbles: Tighten blade screws and bracket hardware. If wobble remains, use the balancing kit included with the fan.
- Humming noise: Check the wall control. A standard light dimmer should not control a fan motor; use a fan-rated speed control.
- Fan or light does not turn on: Check the breaker, switch position, pull-chain setting, remote receiver, and wire connections.
| Issue | Likely Causes | Priority Level |
|---|---|---|
| Fan shakes or wobbles excessively | Loose mounting bracket, blade screws, or unbalanced blades. | Medium |
| Loud humming or buzzing noise | Incompatible dimmer or loose canopy hardware. | Medium |
| Fan and light do not turn on | Breaker, GFCI, switch, wiring, or receiver issue. | High |
| Light works, but fan motor does not | Pull chain off, receiver issue, or motor lead miswired. | Low |
DIY vs. Professional Installation: When to Call an Electrician
Adding a ceiling fan to a light fixture can be a good DIY project when the ceiling is accessible, the wiring is modern, and the box can be properly upgraded. It is not always straightforward, though.
Call a licensed electrician if:
- Your home has knob-and-tube, aluminum, damaged, or unfamiliar wiring.
- The ceiling is high, vaulted, sloped, or hard to access safely.
- You want new 14/3 cable for separate wall switches.
- The existing box is loose, hidden, or difficult to replace.
- You are unsure whether the installation meets local requirements.
Unpermitted or non-code-compliant electrical work can create safety and insurance problems. A licensed electrician can confirm the box, wiring, controls, and local requirements are handled correctly.
Before starting, review The Ultimate House Electrical Outlet Wiring Masterclass and Don’t Get Shocked: The Ultimate Electrical Safety Checklist for Your Home.
Frequently Asked Questions About Ceiling Fan Retrofits
Can I use the existing electrical box to support a ceiling fan?
Only if it is specifically listed for fan support and installed according to its instructions. A standard light fixture box is not enough because it is not designed for fan movement and vibration. For structural details, see Junction Box Basics: Attaching Your Ceiling Fan Securely.
How do I control the fan and light separately if there is only one wall switch?
Use a fan with pull chains, a remote-control receiver, or a compatible smart control. For traditional separate wall switches, you usually need additional wiring between the switch box and fan location.
Can I add a light kit to an existing ceiling fan that does not have one?
Usually, yes, if the fan is light-kit ready. Look for a removable cap or switch housing with light-kit wiring, often including a blue light lead and white neutral. Use a compatible manufacturer or universal kit. For more detail, see How to Install a Ceiling Fan Light Kit.
Conclusion
Adding a ceiling fan to a light fixture can improve airflow, comfort, and lighting, but the installation must be structurally secure and electrically safe. The biggest checks are simple: use a box listed for fan support, confirm the wiring supports your preferred control setup, maintain proper clearances, and know when the job calls for a licensed electrician.
If you run into complex wiring, high ceilings, or uncertainty about code requirements, Buckeye Electrical Solutions can help. We are a family-owned electrical contractor with over 20 years of experience serving homeowners across Northeast Ohio.
Ready to upgrade your home’s comfort and lighting? Contact us through our Residential Services page to schedule professional ceiling fan installation.