
The Best Way to Install a Ceiling Fan Safely in an Ohio Home
The best way to install a ceiling fan is to turn off and verify the circuit safely, mount the fan to a listed fan-support box or approved structural support, follow the manufacturer’s wiring diagram, and test for stable operation.
- Turn off the circuit breaker, confirm the tester works on a known energized source, and use an appropriately rated tester to verify the conductors are de-energized before handling them. If you are not trained or equipped to verify this safely, contact a licensed electrician.
- Confirm the ceiling box and support method are listed or approved for the specific fan’s weight, vibration, and installation instructions.
- Install the manufacturer-supplied mounting bracket, then hang and wire the motor, light kit, and remote receiver exactly as directed.
- Secure the canopy, blades, and light kit. Restore power only after checking that no wires are pinched or overcrowded.
- Test each speed and light setting, balance any wobble, and confirm blade direction in the fan manual.
A ceiling fan is a moving overhead load, not just a light fixture. A standard fixture box may not handle the fan’s weight and vibration, while a properly listed fan-support box or approved structural mounting method is designed for that job.
I’m Aaron, owner of Buckeye Electrical Solutions. Our team handles residential and commercial electrical projects across Northeast Ohio, and we approach ceiling fan installation with an emphasis on verified power isolation, suitable support, and manufacturer-directed wiring.
Basic ceiling fan installation glossary:
Step 1: Safety Precautions and Essential Tools
Before picking up a screwdriver, gather the proper tools and safety gear. A standard installation goes more smoothly when everything is staged in advance.

Essential tools include:
- Appropriately rated voltage tester
- Screwdrivers
- Wire strippers and cutters
- Approved wire connectors
- Sturdy A-frame stepladder
- Measuring tape or yardstick
- Safety glasses and work gloves
Set your stepladder on a clean, level surface directly under the work area. Keep your chest centered between the rails while working overhead.
Disconnecting Power and Verifying De-Energized Circuits
Electrical safety starts at the main breaker panel. Locate the circuit feeding the room and switch it fully OFF. Because panels are not always accurately labeled, do not rely on the wall switch alone.
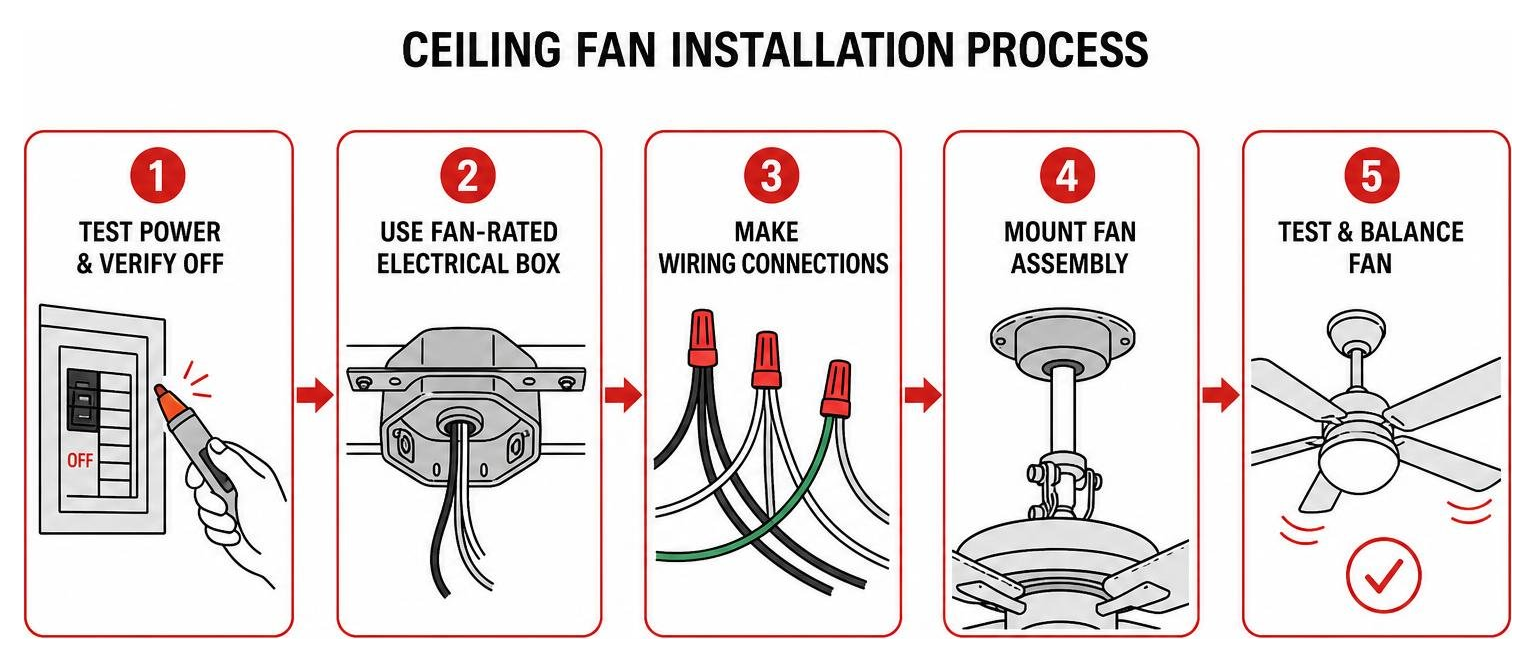
After shutting off the breaker, confirm your tester works on a known energized source, then use an appropriately rated tester to verify the conductors are de-energized before handling them. Outlet has no voltage; could indicate breaker, GFCI, switch, or wiring issue, so confirm the tester and circuit condition carefully. Do not proceed unless you have safely verified the circuit is de-energized. Treat unexpected readings, unidentified conductors, or damaged insulation as a reason to stop and call an electrician.
Step 2: Choosing and Mounting a Fan-Rated Electrical Box
One dangerous DIY mistake is hanging a ceiling fan from a standard light fixture box. Ceiling fans create both weight and vibration loads. The outlet box, mounting hardware, and structure must be suitable for the specific fan’s weight and installation instructions.
A fan must be supported by a listed fan-support outlet box or by a mounting method that provides approved access to structural framing, in accordance with the applicable code and the fan manufacturer’s instructions. Fan-support boxes used as the sole support must be listed and marked for ceiling-suspended fans; they may not support a fan over 70 pounds without independent support. For more mounting guidance, review Junction Box Basics: Attaching Your Ceiling Fan Securely.
Identifying Fan-Rated Markings and Dynamic Weight Ratings
Look for a manufacturer marking that the box is suitable for ceiling-fan support. Follow its stated weight rating and the fan manufacturer’s instructions. The relevant issue is the box’s listing, marking, mounting method, and weight rating—not the material alone.
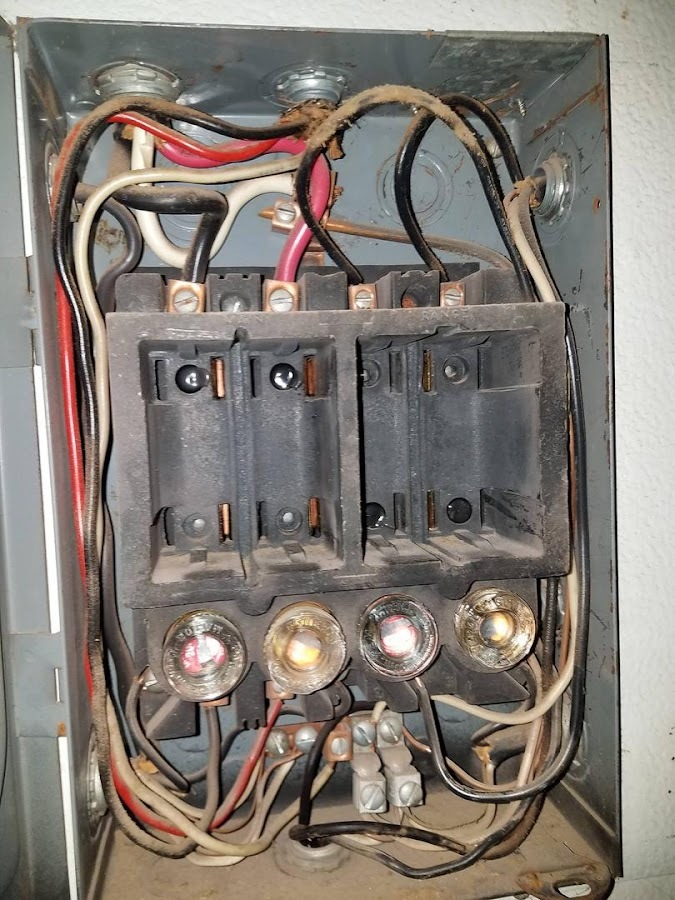
If the box is not marked for fan support, is loose, damaged, improperly mounted, or lacks verified structural support, have it replaced or corrected before installing the fan.
Use only a listed retrofit fan brace and fan box that are compatible with the ceiling construction and the fan’s weight. Follow the brace manufacturer’s instructions exactly, or hire an electrician if framing or box support cannot be verified. ENERGY STAR similarly recommends a UL-listed fan box, preferably anchored to a joist or supported by a purpose-made between-joist bracket.
Step 3: Installing Brackets and Downrods
Once the fan-support box or structural mounting method is verified, install the mounting bracket using the screws and hardware specified by the fan and fan-box manufacturers. Do not substitute generic drywall or wood screws for listed overhead support hardware. Learn more in Ceiling Fan Fastener Installation: A Step-by-Step Guide to Secure Fitting.
If the manufacturer provides a mounting hook or hanging slot, use it as directed while making connections.
Choosing Hardware for Your Ceiling Height
Select the mounting style and downrod length based on the manufacturer’s instructions, ceiling height, blade clearance, and room layout. A low-profile fan may help preserve clearance on an 8-foot ceiling. Fan blade tips should generally be at least 7 feet above the floor.
For vaulted or sloped ceilings, use the sloped-ceiling canopy adapter and downrod length specified for that fan. Maintain the blade-to-wall and blade-to-ceiling clearances specified in the fan’s installation manual. For detailed setup steps, read Don’t Get Hung Up: A Simple Guide to Ceiling Fan Downrod Installation.
Step 4: Wiring the Motor, Light Kit, and Remote Control Receiver
Proper wiring supports safe operation, helps prevent motor hum, and allows the wall switch, light kit, and remote receiver to work as intended. Wire the fan exactly according to its manufacturer-provided diagram and the existing circuit configuration. Wire colors often follow common conventions, but they are not proof of a conductor’s function—especially in older homes or modified circuits.
A red conductor may be a second switched hot, but its function must be verified; do not assume its purpose from color alone. Connect grounding conductors exactly as shown in the fan manufacturer’s wiring diagram and as required by the existing wiring method. For a single-switch configuration without a remote receiver, the fan’s light and motor leads may be connected to the same switched-hot conductor only when the manufacturer’s wiring diagram permits it.
For switch configuration background, see Switch It Up: Your Guide to Wiring a Ceiling Fan Light Switch.
Installing Ceiling Fan Remote Modules
Remote receivers are model-specific. Follow the receiver’s exact input/output diagram; do not mix wire assignments between brands or assume all receiver leads use the same colors. Receiver instructions commonly direct the unit to be installed in the mounting bracket or canopy area and wired according to its dedicated labels.
If your remote uses manual DIP switches, set the receiver and transmitter as the manufacturer directs to reduce interference. Route the receiver antenna as directed by the receiver manufacturer, without pinching or damaging it.
Carefully place conductors and the receiver in the box or canopy without pinching, sharply bending, or overcrowding them.
Step 5: Attaching Blades, Adjusting Rotation, and Balancing
With the motor wired and the canopy secured, attach the fan blade brackets to the motor housing.
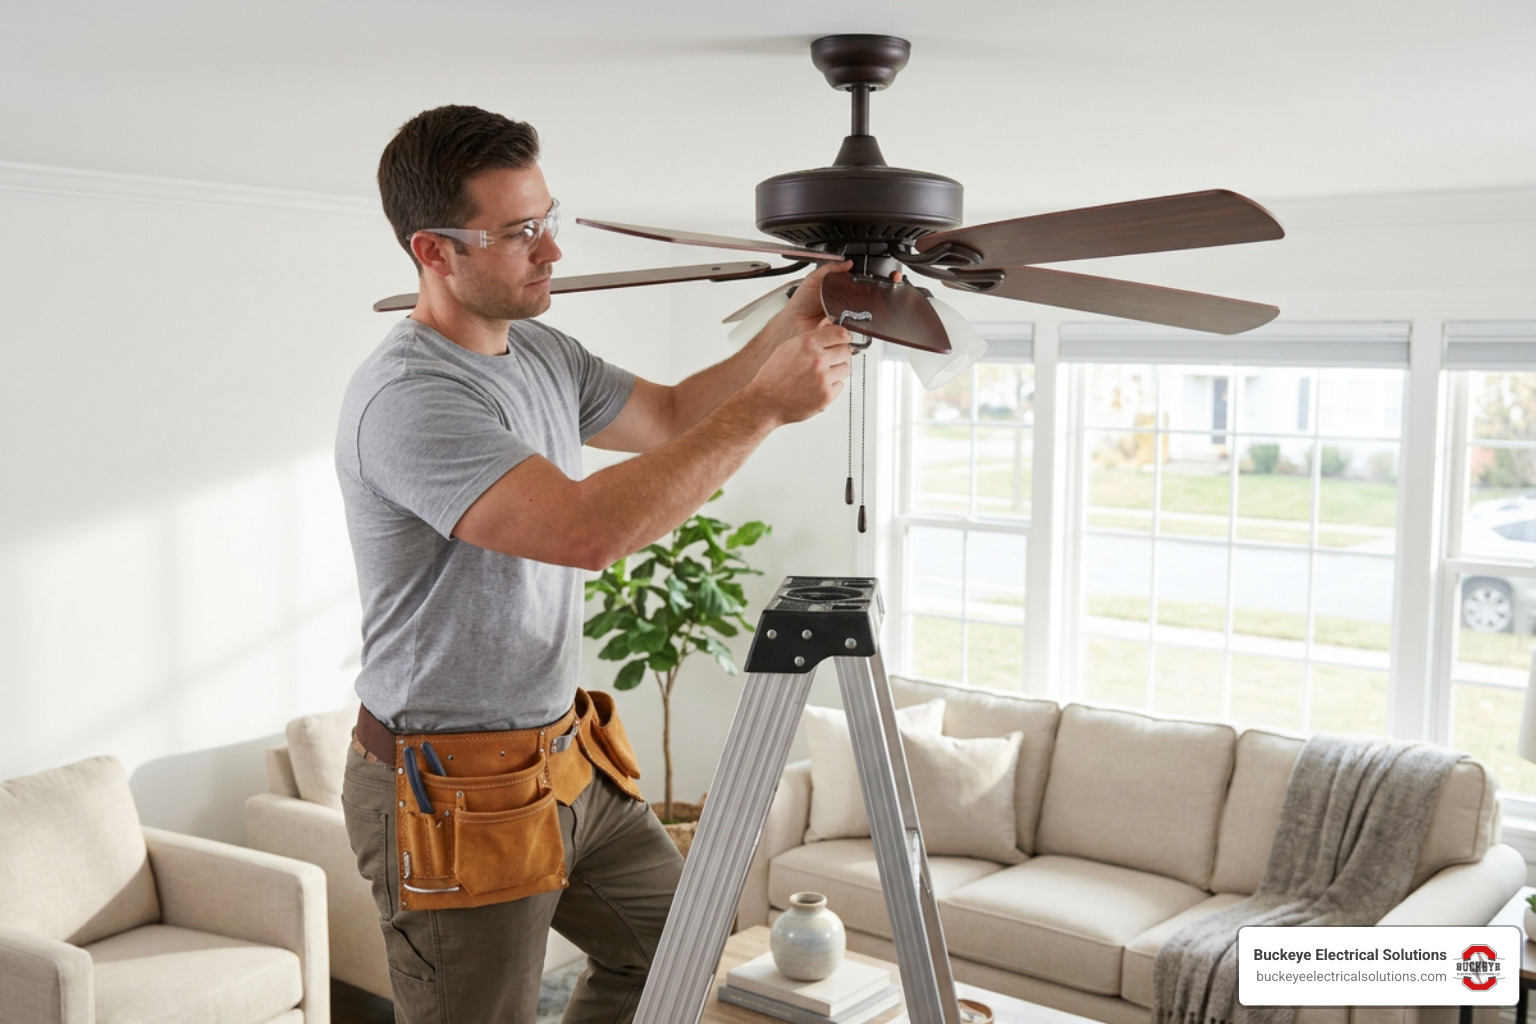
Attach blade arms, blades, washers, and fasteners exactly as supplied and directed by the manufacturer. Tighten screws evenly and confirm every bracket sits flush without forcing alignment.
For seasonal rotation, counterclockwise operation in summer typically creates a downward breeze that can make occupants feel cooler without lowering the room’s actual air temperature. Many fans run clockwise at low speed in winter to circulate warm air near the ceiling, but confirm the correct direction in the fan manufacturer’s instructions.
Troubleshooting Wobbles, Noise, and Performance Issues
If the fan wobbles or hums after power is restored, use this quick reference:
| Installation Symptom | Likely Causes | Priority Level |
|---|---|---|
| Excessive blade wobble at high speed | Loose blade screws, unaligned blade arms, or unseated ball joint | Medium |
| Constant motor humming noise | Fan motor on an incompatible control, or a loose connection | High |
| Scraping or grinding sounds | Canopy rubbing wiring, or blade arm rubbing motor housing | High |
| Fan operating intermittently | Loose remote receiver wiring or remote interference | Medium |
A standard light dimmer should not control a ceiling-fan motor unless the control is specifically rated for fan use. Turn off power and have persistent humming, overheating, burning odor, sparking, or repeated breaker trips evaluated promptly.
Follow the fan manufacturer’s balancing instructions. Check blade screws, blade-arm alignment, mounting hardware, and downrod-ball seating before using the balancing kit.
Step 6: Knowing When to Call a Professional Electrician
Many DIY-inclined homeowners can replace an existing fixture when the correct fan support and wiring are already present. However, permit, inspection, and licensing requirements can vary by Ohio jurisdiction. Check with the local building department before installing new wiring, relocating a ceiling outlet, or modifying switches or circuits.
Consider professional assistance if you encounter:
- No existing electrical box or wiring in the desired ceiling location
- Knob-and-tube, ungrounded two-wire cloth, or aluminum branch-circuit wiring
- Loose, damaged, unmarked, or unsupported ceiling boxes
- New circuits, dual wall switches, or panel breaker changes
- Tall ladders, heavy overhead components, or wiring conditions you cannot verify safely
Proper permitting and inspection, when required, can help document that electrical modifications were completed to applicable local requirements.
Frequently Asked Questions About Installing Ceiling Fans
How do I know if my existing ceiling box can support a fan?
Look for a manufacturer marking that the box is suitable for ceiling-fan support, then follow its stated weight rating and the fan manufacturer’s instructions. If the box is loose, damaged, unmarked, improperly mounted, or lacks verified structural support, have it corrected before installing the fan.
What wire connects to the blue light wire on a ceiling fan?
Follow the fan manufacturer’s wiring diagram and verify the existing circuit configuration. A blue light lead often connects to a switched-hot conductor in approved single-switch or dual-switch setups, but color alone does not prove conductor function.
Which direction should my ceiling fan spin during summer and winter?
Many fans spin counterclockwise in summer to create a downward breeze and clockwise at low speed in winter to circulate warm air near the ceiling. Confirm the correct direction in the fan manufacturer’s instructions because blade pitch and labeling vary by model.
Conclusion
Finding the best way to install a ceiling fan comes down to three essentials: verified power isolation, a listed fan-support box or approved structural mounting method, and wiring that follows the manufacturer’s diagram and existing circuit configuration.
If you run into unexpected wiring, unverified ceiling support, or a project that requires new wiring or switch changes, Buckeye Electrical Solutions can help. Contact us to explore our residential electrical services across Northeast Ohio.