
What You Need to Know About Track Lighting Installation
Track lighting installation is one of the most rewarding lighting upgrades you can make to a home — and with the right preparation, it’s a project many homeowners can tackle themselves.
Here’s a quick overview of what the process involves:
- Choose your track system — H, J, or L type (they are not interchangeable)
- Plan your layout — measure the room, mark mounting points, locate ceiling joists
- Cut power — turn off the circuit breaker and verify with a voltage tester
- Mount the track — secure to joists or use toggle bolts rated for 50+ lbs
- Connect the wiring — black to black, white to white, green/bare to ground
- Install light heads — insert, rotate 90°, and lock into place
- Test and adjust — restore power, aim heads at roughly 30° for best results
Track lighting offers something most ceiling fixtures can’t: flexibility. You can spotlight a painting, wash a kitchen wall with even light, or direct focused beams over a countertop — all from a single ceiling connection. Modern LED track fixtures also cut energy costs significantly compared to older incandescent or halogen setups.
Whether you’re replacing an existing ceiling fixture or starting fresh, this guide walks you through every step — safely and clearly.
I’m Aaron, owner and master electrician at Buckeye Electrical Solutions LLC here in Northeast Ohio, and I’ve overseen dozens of permitted lighting projects — including track lighting installation — across residential and commercial spaces throughout the region. Let’s get into exactly how to do this right.
Simple guide to Track lighting installation terms:
Planning Your Track Lighting Installation
Before you grab your screwdriver and climb up a ladder, a successful track lighting installation starts with a solid plan. Unlike standard flush-mount fixtures that disperse light in a fixed pattern, a track system acts as a functional design element. You need to decide exactly what you want the light to accomplish: are you looking to highlight a gorgeous fireplace mantel, illuminate a busy kitchen prep island, or wash an entire accent wall with warm light?

Layout Design and Spacing Rules
The layout of your track is highly customizable. Tracks are sold in standard straight lengths of 2, 4, 6, and 8 feet, but they can also be connected in L-shapes, T-shapes, or U-shapes using specialized connectors.
When planning your spacing, keep these industry-standard guidelines in mind:
- For General Ambient Lighting: Space your track light heads approximately 24 to 36 inches apart along the rail. This ensures an even, overlapping distribution of light without leaving dark gaps in the room.
- For Task Lighting: Position the track directly above your work surfaces (like kitchen countertops or workshop benches) and space the fixtures 4 to 6 feet apart, aiming them downward at a 30-degree angle to keep your shadow behind you while you work.
- Wall-Washing Offset: If you want to illuminate a vertical surface evenly, use the “one-third rule.” Position the track parallel to the wall at a distance equal to roughly one-third of your ceiling height. For example, if you have a standard 9-foot ceiling, mount your track 2.5 to 3 feet (about 30 to 36 inches) away from the wall.
Ohio’s 2023 NEC Adoption & Electrical Considerations
When installing any new electrical fixture in Ohio, local building codes must be followed. Ohio’s 2023 NEC (National Electrical Code) adoption includes expanded GFCI (Ground Fault Circuit Interrupter) requirements in several locations. However, it is vital to qualify these specific rules as situational rather than universal. For instance, while kitchen receptacles require robust GFCI protection, ceiling-mounted track lighting on a dedicated lighting circuit typically does not require a GFCI unless it is installed within specific proximity to water sources or wet damp locations.
Additionally, we must calculate our electrical load limits. A standard residential 15-amp circuit can safely handle up to 1,440 watts of continuous load, but code guidelines recommend staying below 80% capacity (which is 1,152 watts). Because modern LED track fixtures can reduce energy costs by 75% compared to traditional halogen bulbs, you can easily run multiple track heads on a single circuit without ever worrying about overloading the breaker.
To learn more about preparing your home’s electrical infrastructure for new lighting layouts, take a look at The Essential Guide to Home Electrical Installation.
Understanding Track Lighting Systems and Compatibility
One of the most common pitfalls DIYers face is buying parts that do not fit together. Track lighting is not a “one-size-fits-all” industry. There are three primary, incompatible track standards used in North America:
- H-Style (Halo): The most common standard. It features three copper contact strips (conductors) inside the track channel.
- J-Style (Juno): This system features two main copper contacts that are spaced slightly wider apart than those in the H-style.
- L-Style (Lightolier): This system also utilizes two copper contacts, but they have a distinct height and spacing configuration.
Because these three families are mechanically and electrically incompatible, you cannot clip a J-style light head onto an H-style track. Always ensure your track, connectors, live-end feeds, and light heads are from the exact same style family. If you are working with a J-series system, always refer to the manufacturer’s technical guidelines, such as the J Series Track Installation Instructions, to ensure exact polarity and alignment.
In addition to traditional high-voltage line systems, low-voltage 48V magnetic tracks have surged in popularity. These low-voltage systems utilize a step-down driver to convert your household voltage to a safe 48V DC, allowing you to magnetically snap, slide, and rearrange fixtures along the track without any risk of electrical shock.
Step-by-Step Guide to Installing Track Lighting
Preparing for Your Track Lighting Installation
Safety is our absolute priority. Before you touch a single wire, you must turn off the electrical power to the existing fixture at your home’s main service panel (breaker box). Do not rely solely on the wall switch!
Once you have flipped the breaker off, use a reliable non-contact voltage tester to verify that no electrical current is flowing through the wires. Test all wires inside the junction box before proceeding. If you are unfamiliar with how to use these diagnostic tools safely, check out The Ultimate Guide to Electrical Testers: What They Are and How to Use Them for a complete breakdown of electrical safety.
Tools and Materials Needed:
- Step ladder
- Non-contact voltage tester
- Electric drill and drill bits
- Screwdriver set (flathead and Phillips)
- Wire strippers
- Measuring tape and pencil
- 4-foot level or laser level
- Stud finder
- Toggle bolts (rated for 50+ lbs) or wood screws
- Electrical tape and wire nuts
Mounting and Wiring the Track System
If you are replacing an existing flush-mount ceiling fixture, your track lighting installation will utilize the existing ceiling junction box.
Step 1: Remove the Existing Fixture
After confirming the power is completely off, unscrew the old canopy. Carefully untwist the wire nuts, starting with the hot (black) wire, then the neutral (white) wire, and finally the ground (bare or green) wire. Set the old fixture aside.
Step 2: Install the Mounting Plate
Attach the new track mounting bracket or crossbar to the existing electrical box using the provided machine screws. Ensure the mounting plate is oriented so that the track will run in your desired direction.
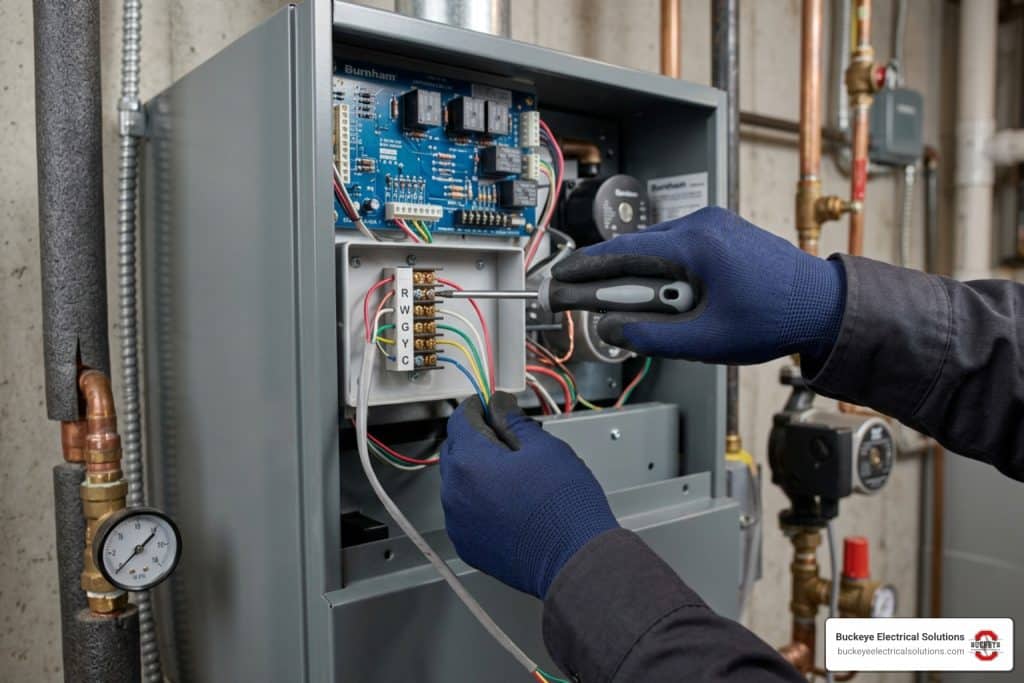
Step 3: Connect the Electrical Wiring
Pull the house wires through the center of the mounting plate. Connect the track’s live-end power feed wires to your house wiring using wire nuts:
- Connect the ground wire (green or bare copper) to the green grounding screw on the mounting bracket or to the house ground wire.
- Connect the neutral wire (white) to the white wire from the track feed.
- Connect the hot wire (black) to the black wire from the track feed.
Wrap the wire nut connections with a bit of electrical tape for added insulation and security. For more detailed tips on managing complex spotlight wiring, refer to Bright Ideas: Wiring Spotlights Like a Pro.
Step 4: Secure the Track Rail to the Ceiling
A standard track system can be heavy, especially when loaded with multiple fixtures. Track support points should be no more than 4 feet apart to prevent sagging.
- Locating Joists: Use a stud finder to locate ceiling joists along your track path. If your track aligns with joists, secure it directly using 2.5-inch wood screws driven through the track’s pre-drilled mounting holes.
- Using Drywall Anchors: If there are no joists available where you need to mount the track, drill 1/2-inch holes and use heavy-duty toggle bolts rated for at least 50 pounds to clamp the track tightly against the drywall.
For a detailed visual guide on mounting rails securely, see How to Install Track Lighting: A Complete Step-by-Step Guide for Beginners.
Installing and Adjusting the Light Heads
Once the track rail is securely mounted and wired, it’s time for the fun part: adding the light heads.

Step 1: Align the Polarity
Look closely at your track rail and the adapter base of your light head. You will notice a groove or ridge running along one side of the track—this indicates polarity. Your light head adapter will have a corresponding tab or contact that must line up with this groove.
Step 2: Insert and Lock
Insert the adapter contacts straight up into the track slot. Rotate the adapter base 90 degrees until it snaps firmly into place. Many systems feature a sliding plastic locking tab that clicks down to secure the fixture.
Step 3: Adjust the Beam Angle and Aim
To avoid harsh glare on paintings or reflective surfaces, aim your track heads at a 30-degree angle relative to the vertical wall. This angle provides beautiful, dramatic accent lighting (known as “wall washing”) while preventing direct light from bouncing into your eyes. Restore the power at the breaker panel and test your new system!
Troubleshooting and Alternative Methods
Alternative Track Lighting Installation Methods
What if you do not have an existing ceiling junction box? You still have excellent options:
- Plug-In Track Kits: If you want a quick DIY project without cutting into your drywall or running new electrical lines, you can purchase a plug-in track lighting kit. These systems mount to the ceiling exactly like hardwired tracks, but the power feed terminates in a long cord that plugs directly into a standard wall outlet. You can easily hide the cord along corners using paintable wire covers.
- Magnetic Track Systems: For ultra-modern, low-profile designs, magnetic tracks can be surface-mounted, suspended from cables, or even recessed directly into the drywall for a trimless, flush look. These systems utilize a safe 48V power supply, making it incredibly easy to reposition fixtures on the fly. To explore this option in depth, read How to Install Magnetic Track Light: Step-by-Step DIY Guide 2026.
Troubleshooting Common Installation Issues
Even the most careful DIYer can run into hiccups during a lighting project. Use this table to diagnose and resolve common track lighting issues safely.
| Issue | Likely Causes | Priority Level | Action Plan |
|---|---|---|---|
| No light from any fixtures | Outlet has no voltage; could indicate breaker, GFCI, switch, or wiring issue | High | Check the main breaker panel. Use a voltage tester to verify if power is reaching the track’s live-end feed. |
| Flickering lights | Loose wire connections; improper wiring; incompatible dimmer switch | Medium | Turn off power. Check wire nuts inside the canopy. Ensure your LED track heads are paired with a compatible LED-rated dimmer. |
| Track rail is sagging | Screws missed the ceiling joists; loose drywall anchors | Medium | Re-secure the track using heavy-duty toggle bolts. Ensure support points are spaced no more than 4 feet apart. |
| Individual light head won’t light | Bad contact alignment; improper polarity orientation | Low | Remove the light head, rotate it 180 degrees, and re-insert it, making sure the locking tab snaps fully into place. |
Dimmer and Driver Compatibility
If you notice your new LED track lights are buzzing or flickering, the culprit is almost always a mismatched dimmer switch. Traditional incandescent dimmers (TRIAC) do not play well with modern LED drivers. Make sure you install an Electronic Low Voltage (ELV) dimmer or a dedicated LED-compatible dimmer switch to ensure smooth, flicker-free dimming.
Frequently Asked Questions about Track Lighting
Can I mix different track lighting brands?
Generally, no. While some brands design their fixtures to fit standard H, J, or L tracks, physical dimensions and contact spacing can vary slightly between manufacturers. To avoid poor electrical contact, flickering, or safety hazards, we always recommend using track rails, connectors, and light heads from the same manufacturer and style family.
How far from the wall should track lighting be installed?
For standard 8- to 9-foot ceilings, we recommend mounting your track 2 to 3 feet (24 to 36 inches) away from the wall. If you have higher ceilings (10 feet or more), increase this distance to 3 to 4 feet to maintain an optimal 30-degree aiming angle for wall-washing or highlighting artwork.
Do I need a special dimmer switch for LED track lights?
Yes. To avoid annoying flickering, buzzing, or a limited dimming range, you must pair your LED track system with a dimmer switch specifically rated for LED loads (often labeled as CL or ELV dimmers).
Conclusion
A successful track lighting installation can completely transform the atmosphere of your home, providing beautiful, flexible, and energy-efficient illumination exactly where you need it. While many homeowners enjoy tackling this project as a weekend DIY, working with electrical wiring can sometimes present unexpected challenges.
If you run into complex wiring scenarios, need to run a brand-new electrical circuit through your ceiling, or simply want the peace of mind that comes with professional installation, Buckeye Electrical Solutions is here to help. As Northeast Ohio’s trusted electrical contractor, our experienced team provides exceptional residential and commercial electrical services tailored to your specific home layout.
Please note that all of our service pricing and estimates are subject to change and dependent on local site conditions or local AHJ (Authority Having Jurisdiction) requirements.
Ready to bring your lighting vision to life? Explore Our Services today and let us help you brighten your home safely and professionally!