What You Need to Know About Smart Switch 3-Way Wiring
Smart switch 3-way wiring lets you control one light from two different locations — and upgrade both to smart control at the same time. Here’s a quick overview of how it works:
How to wire a smart 3-way switch (quick steps):
- Turn off power at the breaker and verify with a voltage tester
- Identify the LINE side (hot feed) and LOAD side (connected to the light)
- Label your traveler wires before disconnecting anything
- Connect the master smart switch at the LINE side
- Connect the companion/add-on switch at the LOAD side
- Link both switches in the manufacturer’s app for full 3-way control
A standard single-pole switch has one hot wire in and one out — simple. A 3-way setup is different. It uses two switches and a pair of traveler wires that run between them, allowing either switch to toggle the light on or off. When you add smart switches into that circuit, the wiring gets more involved — and the brand you choose matters a lot.
Some smart switches require a neutral wire. Others don’t. Some need both switches to be “smart.” Others work with a dumb companion. Getting these details wrong means your new switch either won’t work at all — or loses control every time someone flips the other switch.
This guide walks you through everything step by step, so you can get it done right the first time.
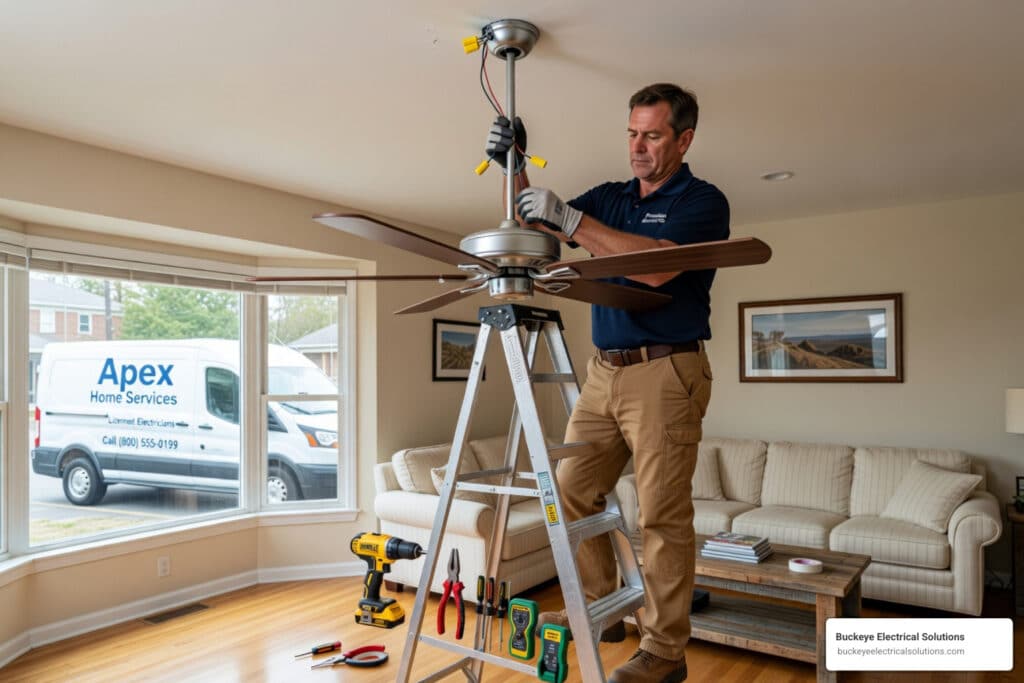
I’m Aaron, owner of Buckeye Electrical Solutions LLC and a licensed master electrician with hands-on experience across dozens of residential projects in Northeast Ohio — including plenty of smart switch 3-way wiring upgrades in real homes. I’ll show you exactly what to expect inside those switch boxes and how to handle what you find there.
Essential Tools and Safety for Smart Switch 3 Way Wiring
Before we dive into the wires, we need to talk about the gear. Working with 120V residential electricity isn’t a “guess and check” hobby. In Northeast Ohio, we see all kinds of DIY attempts, but the successful ones always start with the right toolkit.
Your Smart Wiring Toolkit
To handle smart switch 3-way wiring like a pro, you’ll need:
- Non-contact Voltage Tester: This is your best friend. It chirps when it senses live power, ensuring you don’t get a nasty surprise.
- Digital Multimeter: Essential for identifying which wire is the “Line” (hot) and which is the “Load.”
- Insulated Screwdrivers: Both Phillips and flathead.
- Wire Strippers: Most smart switches require about 5/8-inch of exposed copper for a solid connection.
- Needle-nose Pliers: For looping wires around screws or tucking them into cramped boxes.
- Wire Nuts or Lever Connectors: Usually included with the switch, but having spares is wise.

Safety First: The 120V Rule
Safety isn’t just a suggestion; it’s the law of the land in electrical work. Always turn off the power at the main breaker panel. Don’t just flip the wall switch off—the wires inside the box will still be live. Once the breaker is off, use your voltage tester inside the box to confirm there is zero current. If you open a box and see a “rat’s nest” of wires that makes your head spin, it’s time to call in our Residential Electrical Services. It is always better to be safe than to risk a fire or a dangerous shock.
Identifying Your Wires: Line, Load, and Travelers
The biggest hurdle in smart switch 3-way wiring is identifying what you’re looking at. Unlike a single-pole switch, a 3-way switch has three terminals (plus a ground).
The Players in the Box
- Line (Hot): This wire brings the 120V power from your breaker panel into the first switch box.
- Load: This wire carries the power from the second switch box up to the light fixture.
- Travelers: These are a pair of wires (usually one red, one black) that connect the two switches together. They act as the “bridge” that allows both locations to control the light.
- Neutral: Often a bundle of white wires tucked in the back of the box. Most smart switches need these to stay “awake” and connected to Wi-Fi.
- Ground: The bare copper or green wire that keeps the system safe.
American Wire Gauge (AWG) Standards
In most Ohio homes, residential lighting circuits use 14 AWG Romex wire. This wire is rated for a maximum of 15 Amps, though for safety and longevity, we recommend keeping the continuous load at 12 Amps or less. Learn more about American Wire Gauge standards to understand how current capacity affects your home’s safety.
| Wire Color | Common Function | Connection Point |
|---|---|---|
| Black (Common) | Line or Load | Black/Dark Screw |
| Red/Black | Travelers | Brass/Gold Screws |
| White | Neutral | Not connected to “dumb” switches; used by smart switches |
| Bare Copper | Ground | Green Screw |
Step-by-Step Installation Guide
Now that we know who the players are, let’s put them in the game. Smart switch 3-way wiring usually involves a “Master” switch and a “Companion” (or Add-on) switch.
Preparing the Box for Smart Switch 3 Way Wiring
First, pull the old switches out—but do not disconnect the wires yet. With the power briefly back on (carefully!), use your multimeter to find the “Line” wire. It’s the only one that will show 120V when the light is off. Once identified, turn the power back off.
Label your travelers. Usually, they come out of the same piece of Romex cable (a red and a black wire together). Take a photo of the original setup. This is your “get out of jail free” card if things get confusing later. Learn more about electrical wiring diagrams to see how these configurations typically look in a 3-way setup.
Connecting the Master and Add-on Smart Switch 3 Way Wiring
- The Master Switch (Line Side): Connect your identified Line wire to the “Line” terminal on the smart switch. Connect the Neutral wire from the switch to the white neutral bundle in the box using a jumper wire if necessary. Attach your two travelers to the designated traveler terminals.
- The Companion Switch (Load Side): In the second box, you’ll connect the “Load” wire (the one going to the light) to the switch. The travelers from the first box must match the terminals on this second switch.
- The Ground: Always connect the green or bare copper wire to the ground screw on both switches.
If you are using a brand like Kasa (HS210), both locations typically need a smart switch. However, brands like Zooz or Inovelli often allow you to keep one “dumb” switch, provided you wire it in a specific “Solution” configuration. For a full list of how we can help with complex configurations, check out Our Services.
Troubleshooting Common 3-Way Setup Issues
Even for the pros, smart switch 3-way wiring can be finicky. Here are the most common “gotchas” we see in the field:
- The “Half-Working” Switch: If the smart switch only works when the other switch is in a certain position, you’ve likely mixed up a traveler with the Line or Load wire.
- Flickering LEDs: Smart switches leak a tiny amount of power to stay connected to Wi-Fi. If your LED bulbs are low-wattage (under 15W), they might flicker or glow when “off.” You may need a “Load Resistor” or a specific bulb adapter.
- No Neutral Found: In older homes (pre-1980s), neutral wires weren’t always required in switch boxes. If you don’t see a bundle of white wires, you’ll need a “no-neutral” smart switch like the Lutron Caseta, which uses the ground or the bulb itself to complete the circuit.
- Desync Issues: If you’re using two smart switches that communicate wirelessly, they must be paired in the app. If one loses Wi-Fi, the whole 3-way system might fail.
Frequently Asked Questions about 3-Way Smart Switches
Do I need to replace both switches in a 3-way setup?
It depends on the brand. Some systems, like the Kasa HS210 dimmers, require both switches to be smart to communicate dimming levels. Others, like certain Zooz or GE models, use “Add-on” switches that look smart but are actually just remotes for the master. Some even allow you to keep one original “dumb” switch, though this can sometimes lead to the smart switch becoming unresponsive if the dumb switch is toggled. For the best reliability, we usually recommend replacing both.
What should I do if there is no neutral wire in my switch box?
Don’t panic! You have two main options. First, look deeper in the box; sometimes neutrals are tucked way in the back, unused. If they truly aren’t there, you must buy a “No-Neutral” smart switch. These are specifically designed for older wiring. Alternatively, you can use a Lutron Caseta system with a Pico remote—the remote doesn’t need any wires at all and can be mounted over the second box.
How do I determine which switch box is the “Line” side?
This is the “Golden Rule” of smart switch 3-way wiring. With the power on and the wires disconnected (and safely spread apart), use a non-contact voltage tester or multimeter. The wire that is “hot” (shows voltage) is your Line. The other box will have no voltage until the first switch is toggled or connected. The box with the hot wire is your “Line” side; the box where the wire goes to the light is the “Load” side.
Conclusion
Upgrading to smart switch 3-way wiring is one of the best ways to modernize your home, adding both convenience and energy efficiency. While it’s a project many DIYers can handle with patience and the right tools, it’s also one where small mistakes can lead to big headaches—or safety hazards.
At Buckeye Electrical Solutions, we’ve spent over 20 years serving the Northeast Ohio community. We know the specific wiring quirks of local homes, from the historic houses in Cleveland Heights to the newer builds in Akron. Whether you need a hand identifying a mystery wire or want a whole-home smart lighting overhaul, our team is ready to provide prompt, professional service.
Don’t let a 3-way circuit get the best of you. Contact Buckeye Electrical Solutions today for expert installation and peace of mind. Let’s get your smart home shining!