Why Electrical Wire Repair Matters for Your Home’s Safety
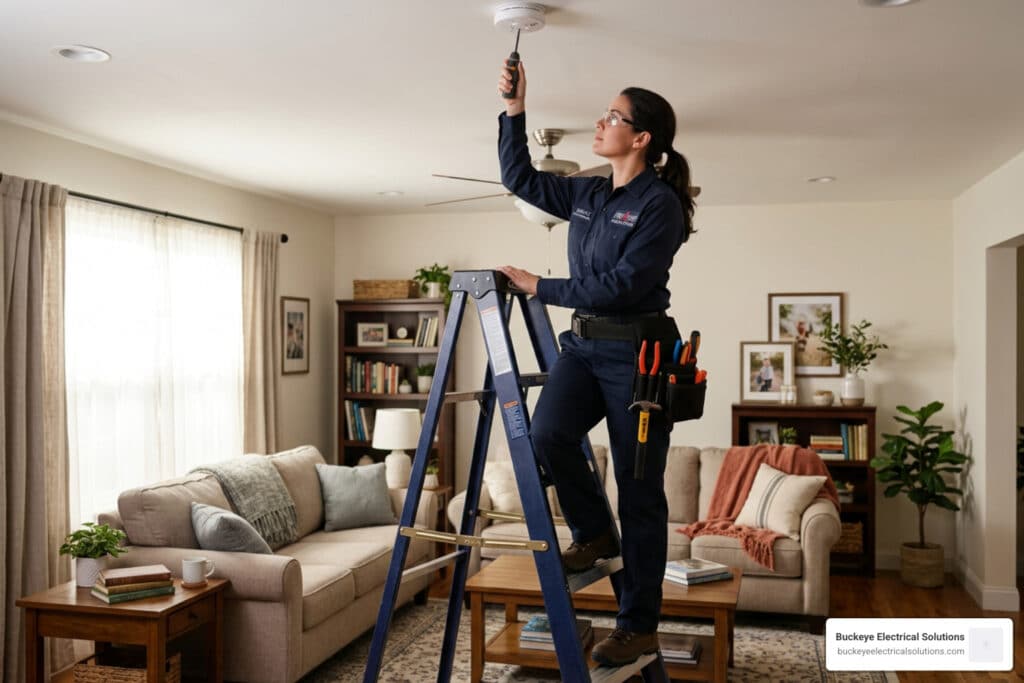
Electrical wire repair is a critical skill that can prevent house fires, electrical shocks, and costly damage to your home’s electrical system. Whether you’re dealing with wires nicked by a drywall router, insulation damaged by rodents, or connections that have deteriorated over decades, understanding the right repair methods can mean the difference between a safe fix and a dangerous hazard. From fixing the wiring in a master bedroom ceiling fan to repairing a severed line in the basement, safety and code compliance are paramount.
Quick Answer: Safe Electrical Wire Repair Methods
- For minor insulation nicks: Wrap with high-voltage electrical tape (Scotch 33+) or heat shrink tubing
- For cut or severed wires: Use junction boxes with proper wire nuts, crimp connectors, or soldering
- For aluminum wiring: Only use approved methods like COPALUM pigtailing or AlumiConn connectors
- Always required: Turn off power at the breaker and verify with a voltage tester before starting
- When to call a pro: Damaged wires inside walls, extensive deterioration, or any aluminum wiring repairs
Important safety note: According to the Consumer Product Safety Commission, homes built before 1972 with aluminum wiring are 55 times more likely to reach fire hazard conditions at outlets than copper-wired homes. Never attempt repairs on aluminum wiring yourself-this requires specialized tools and training.
The most common causes of wire damage include:
- Construction accidents (drywall routers, drills, staples)
- Rodent damage (chewed insulation and conductors)
- Age-related deterioration (brittle insulation in homes 40+ years old)
- Mechanical stress (repeated bending or pulling)
- Improper connections (loose wire nuts or terminals overheating)
While minor repairs like taping small nicks in insulation can be done safely by homeowners, most wire repairs require compliance with the National Electrical Code (NEC). Splices must be made in accessible junction boxes, and certain methods-like simply wrapping damaged wires with tape-won’t pass inspection even if they restore temporary function.
I’m Aaron, owner of Buckeye Electrical Solutions in Northeast Ohio, and I’ve overseen more than 60 permitted electrical projects including complex rewires where electrical wire repair techniques are essential for safety and code compliance. In this guide, I’ll walk you through both the repairs you can tackle yourself and the situations where calling a licensed electrician is the only safe choice.
, construction accidents (drywall routers and drills), age-related deterioration (brittle insulation crumbling), mechanical stress (wires bent or pulled repeatedly), and loose connections (overheating terminals). Each cause is illustrated with a simple icon and brief description of the warning signs to look for. - electrical wire repair infographic")
Common Causes and Identification of Damaged Wiring
In our years of providing Residential Electrical Services across Northeast Ohio, we’ve seen just about every way a wire can break. Often, the damage isn’t obvious until a circuit trips or a light starts flickering.
One of the most frequent culprits is the “drywall router.” During new construction or basement finishing, installers often use high-speed routers to cut openings for outlets. If the wires aren’t pushed deep enough into the box, the router bit can nick the insulation or even sever the copper conductor entirely.
Rodents are another major factor. Mice and rats have a strange affinity for the soy-based insulation found in modern wiring. They can chew through the outer jacket and the inner insulation, leaving bare copper exposed. This creates a massive arcing hazard that can lead to a fire behind your walls.
As homes age, the insulation itself can become a problem. In many older Cleveland-area homes, the insulation on the wiring becomes brittle and crumbles when touched. This is especially common in light fixtures where heat has baked the wire for decades.
To help you understand what you’re looking at when you open a wall or a junction box, here is a comparison of the two main conductor types you’ll encounter:
| Characteristic | Solid Core Wire | Stranded Wire |
|---|---|---|
| Flexibility | Low; can snap if bent repeatedly | High; designed for movement |
| Common Use | Residential wall wiring (Romex) | Appliance cords, electronics |
| Connection Method | Best with screw terminals/wire nuts | Best with crimp connectors/soldering |
| Durability | High resistance to corrosion | More surface area; can fray |
Identifying Aluminum and Legacy Systems
If your home was built between 1965 and 1973, you may have aluminum wiring. You can identify this by looking for “Al” or “Aluminum” markings on the cable jacket. Aluminum is much softer than copper and expands/contracts more significantly when heated. This leads to loose connections and is why these homes have a 55 times higher fire risk at the outlets. If you find aluminum, refer to the CPSC aluminum wiring safety research before touching it.
Even older is “Knob and Tube” (K&T) wiring. Used from the 1880s to the 1930s, this system uses single-insulated copper conductors supported by porcelain knobs and protected by porcelain tubes where they pass through wood. The insulation is usually asphalt-saturated cotton cloth. While K&T was safe for its time, it lacks a ground wire and the insulation is often now so brittle that any electrical wire repair requires replacing the entire run.
Essential Safety Precautions for Electrical Wire Repair
Before you even pick up a pair of pliers, safety must be your absolute priority. Electricity doesn’t give second chances. At Buckeye Electrical Solutions, we follow strict protocols for every one of Our Services, and you should too.
- Kill the Power: Never trust a wall switch. Go to your main service panel and turn off the circuit breaker for the area you are working on.
- Verify with a Voltage Tester: Use a non-contact voltage tester to ensure the wire is truly “dead.” Touch it to the wire insulation and the bare ends. If it chirps or glows, the power is still on.
- Tag-Out Procedures: If you aren’t working alone, put a piece of tape over the breaker and write “DO NOT TURN ON” so a family member doesn’t accidentally flip the switch while you’re holding the wires.
- PPE (Personal Protective Equipment): Wear safety glasses to protect against sparks or flying wire bits. Insulated gloves are a good secondary precaution, though they are no substitute for turning off the power.
- Fire Safety: Always have a Class C fire extinguisher nearby. Never use water on an electrical fire, as water conducts electricity and can cause a fatal shock.
If you see signs of “arcing”—which looks like black charring or melted plastic—the damage is severe. Arcing can reach temperatures over 10,000 degrees Fahrenheit. If you smell burning plastic but can’t find the source, call us immediately.
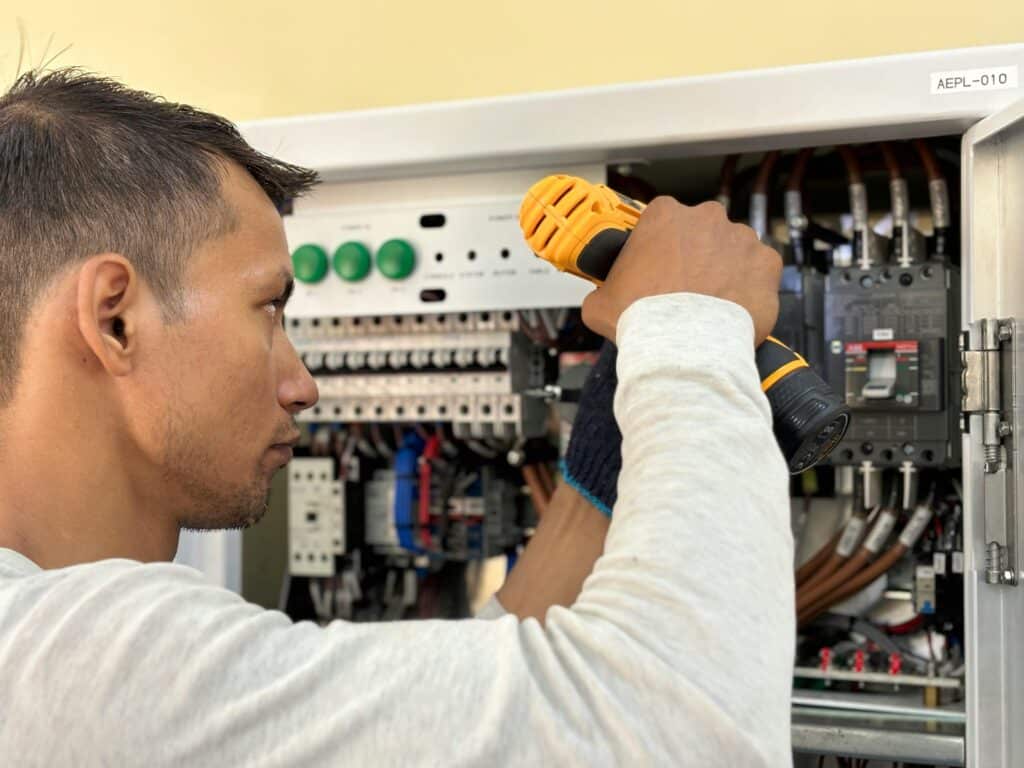
Professional Techniques for Splicing and Connecting Wires
When a wire is severed, you can’t just twist the ends together and hope for the best. The National Electrical Code (NEC) Section 300.15 is very clear: all splices must be contained within an approved, accessible junction box. You cannot bury a splice behind drywall.
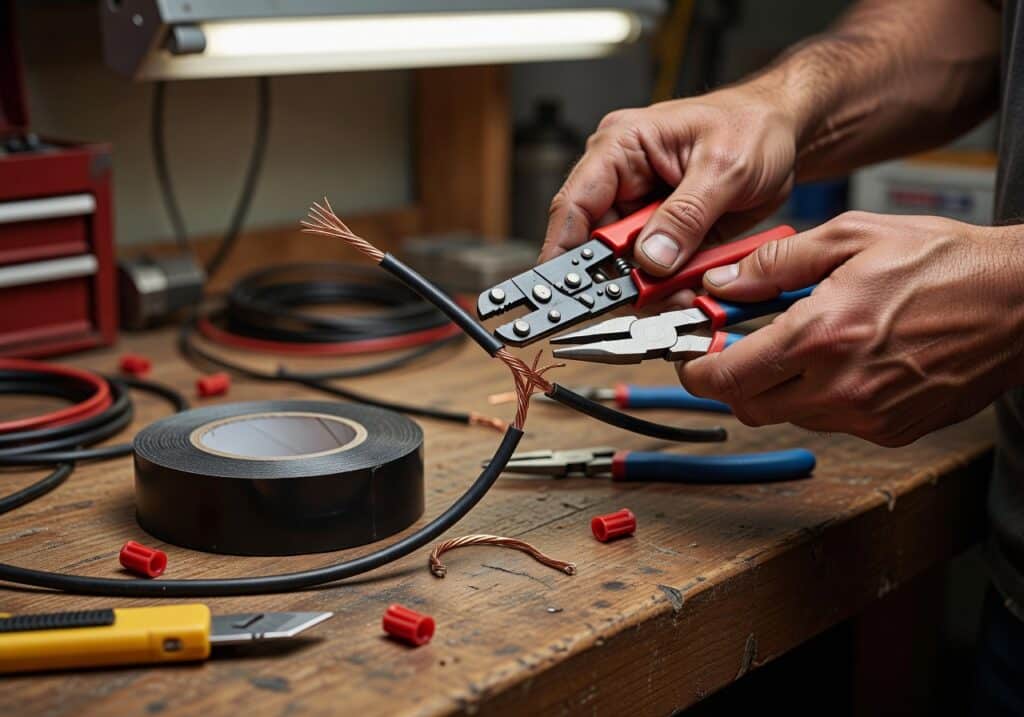
The Right Way to Splice
For most residential electrical wire repair, the “pigtail” or wire nut connection is the standard.
- Wire Nuts: These are color-coded based on the number and gauge of wires they can hold. For a solid connection, strip about 1/2 inch of insulation, hold the wires side-by-side, and twist the nut clockwise until it is tight and you see the wires begin to twist outside the nut.
- Lever Connectors: Products like Wago connectors are becoming popular because they don’t require twisting and provide a visible connection.
- Western Union Splice: For specialized repairs where mechanical strength is needed (though rarely used in modern house wiring), the Western Union splice – Wikipedia involves wrapping the wires around each other in a specific pattern to ensure they won’t pull apart.
Step-by-Step Methods for Minor Insulation and Electrical Wire Repair
If the copper conductor is perfectly intact and only the outer insulation is nicked, you may be able to perform a repair without cutting the wire.
- Clean the area: Ensure there is no dust or drywall mud on the wire.
- Apply Scotch 33+ Tape: This is the industry standard for electrical tape. It is rated for 600V per wrap. Start an inch before the nick and wrap tightly, overlapping each turn by half the width of the tape, until you are an inch past the damage.
- Heat Shrink Tubing: For a more permanent and professional look, use heat shrink. You must be able to slide the tube over one end of the wire. Once in place, use a heat gun (not a lighter!) to shrink the tube. It provides a watertight, durable seal that mimics the original insulation.
For those with monitored systems, we offer More info about fire alarm services because even a small nick in a fire alarm wire can cause a “trouble” signal on your panel.
Soldering and Advanced Electrical Wire Repair
In electronics or very specific appliance repairs, soldering is the gold standard. It creates a molecular bond between the wires, ensuring the lowest possible resistance.
To solder correctly:
- Slide your heat shrink tubing onto the wire first.
- Twist the wires together (a “Lineman’s splice” is best here).
- Apply flux to the joint to clean the metal.
- Heat the wire with the iron, not the solder. When the wire is hot enough, touch the solder to the wire. It should melt and “wick” into the strands.
- A good joint is shiny. If it looks dull or “bubbly,” you have a “cold solder joint” which will eventually fail.
For underground or heavy-duty repairs, we often use a 3M 2234 kit, which uses a resin-filling method to completely encapsulate the repair, making it stronger than the original wire.
Handling Specialized Repairs: Aluminum and Underground Wiring
As we mentioned earlier, aluminum wiring is a different beast entirely. Standard wire nuts will cause aluminum to oxidize and overheat. We use two primary methods for aluminum electrical wire repair:
- AlumiConn Connectors: These use internal lugs and a special anti-corrosion tin plating to safely join copper to aluminum.
- COPALUM Pigtailing: This involves a high-pressure cold-weld crimp. It requires a specialized tool that applies 10,000 pounds of force, literally fusing the metals together.
Underground (Direct Burial) Repairs
If you accidentally hit your outdoor lighting or power line with a shovel, you need a waterproof solution. You cannot use standard electrical tape underground.
- 3M UF-1 Splice Kit: We recommend the 3M UF-1 Splice Kit for direct burial. It includes a heavy-duty connector and a heat-shrink tube lined with an adhesive sealant that melts and flows into every crack to keep moisture out.
- Conduit: Whenever possible, we prefer to pull new wire through a PVC conduit for our Commercial Electrical Services. This protects the wire from future “fools with shovels.”
Frequently Asked Questions about Electrical Wire Repair
Is wrapping a wire in electrical tape a permanent fix?
Not usually. While electrical tape is great for minor nicks in the outer jacket, it is not a code-compliant way to “fix” a cut wire or a wire with a damaged conductor. Over time, the adhesive on tape can dry out and solve. For a permanent fix, the wire should be spliced in a box or replaced.
When should I replace a wire instead of repairing it?
If the insulation is brittle and crumbles when you touch it, the wire is “end of life.” Similarly, if a wire has been scorched by a fire or if there are multiple nicks over a long run, it is safer and often more cost-effective to pull a new length of Romex.
Can I repair electrical wires inside a wall without a box?
Absolutely not. This is a major fire hazard and a violation of the National Electrical Code. If a splice fails and it’s buried behind drywall, it can arc and start a fire without you ever seeing a spark. All splices must be in a box with a cover that remains “accessible”—meaning you don’t have to break the wall to get to it.
Conclusion
Electrical wire repair is about more than just getting the lights back on; it’s about ensuring your home remains a safe place for your family. From identifying the dangers of old aluminum wiring to mastering the art of the junction box splice, doing things the right way is the only way.
At Buckeye Electrical Solutions, we’ve spent over 20 years serving our neighbors in Northeast Ohio. We pride ourselves on our prompt service and our “safety-first” approach. If you’ve finded damaged wiring in your home and aren’t 100% confident in the repair, don’t take the risk.
Contact us for professional electrical services today. Whether it’s a simple outlet repair or a full home rewire, our licensed electricians are ready to ensure your project is completed quickly, safely, and to the highest code standards.