Why Boiler Thermostat Wiring Safety Comes First
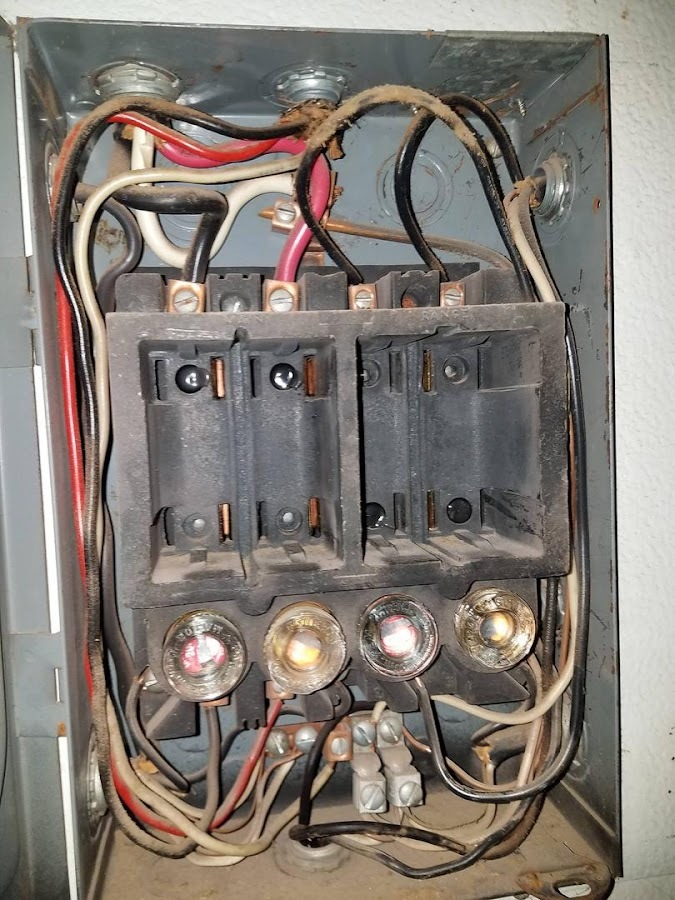
Before connecting a thermostat to a boiler, verify three things: the system is low-voltage, the boiler circuit is de-energized at the breaker, and the thermostat is compatible with the equipment and manufacturer wiring diagram. If you see charred wires, water intrusion, unclear labels, or anything that does not match the diagram, stop and call a licensed professional.
Most residential boiler thermostat wiring uses a 24V AC control circuit, often with only R and W terminals for a heat-only thermostat. Some systems also provide C for common power. However, not all boilers are wired the same; zone valves, relays, aquastats, and control boards can change the required connections.
Here’s the safe starting point:
- Turn off power to the boiler at the circuit breaker.
- Confirm the system is low-voltage, not a 120V/240V line-voltage thermostat circuit.
- Photograph and label existing wires before removing anything.
- Match the new thermostat wiring to the manufacturer diagram — many boilers use only R and W, while smart thermostat compatibility may require C or an approved power accessory.
- Restore power and test by setting the thermostat above room temperature, confirming a heat call, and verifying the boiler responds at the equipment.
Many smart thermostats need a C-wire or approved power accessory, but some models can work with batteries, adapters, or a power extender kit. Confirm the thermostat’s instructions before assuming R, W, and C all need to be connected.
Northeast Ohio winters are no joke. A thermostat that is wired incorrectly can cause no heat, constant operation, short-cycling, or equipment damage. Smart thermostats can help reduce heating costs when installed correctly, but the setup has to match the boiler system.
I’m Aaron, owner of Buckeye Electrical Solutions LLC in Northeast Ohio. We’ve handled residential heating controls across many system ages and configurations. Below, I’ll walk through the safest way to approach boiler thermostat wiring, smart thermostat power needs, and basic troubleshooting.
Safety and Preparation for Boiler Wiring
Working with a boiler is different from replacing a wall switch or light fixture. The thermostat wiring may be low-voltage, but the boiler is still connected to mains power.
Power Disconnection and Verification
Turn off power at the dedicated boiler breaker in the electrical panel. Do not rely only on a service switch near the boiler, since switches can be mislabeled, bypassed, or wired unexpectedly.
After shutting off the breaker, verify the power is off with a non-contact voltage tester. If you are not sure how to use one, see our guide on The Ultimate Guide to Electrical Testers: What They Are and How to Use Them. You can also raise the thermostat setpoint and confirm the boiler does not respond before opening controls.
Identifying Voltage Types
Most residential boilers in Ohio use 24V AC low-voltage thermostat wiring, typically with thin 18-gauge conductors. Older systems, electric heat, or specialty controls may use line voltage instead.
Warning: If you see thick 10- or 12-gauge conductors, large wire nuts, or a thermostat labeled 120V/240V, stop. Line-voltage thermostats and low-voltage smart thermostats are not interchangeable, and equipment can be damaged if miswired. For more on standard wiring types, see How to Wire a Thermostat – Honeywell Home.
Step-by-Step Guide to Connecting a Thermostat to a Boiler
Once the power is off and the system is confirmed low-voltage, work slowly and follow the equipment diagram.
1. Label Everything
Before disconnecting any wire, take a clear photo of the old thermostat terminals. Then label each wire based on the terminal it is actually connected to, such as R, W, or C. Do not rely on wire color alone; HVAC colors are not always used consistently.
2. Remove the Old Base and Mount the New One
Unscrew the old wall plate while keeping the wires from falling back into the wall. Mark the new mounting holes, level the thermostat base, and secure it without pinching the cable.
3. Connect the Wires According to the Diagram
Feed the wires through the new base. Most heat-only boiler systems use only two thermostat conductors:

- R / Rh: 24V power for the heating circuit.
- W / W1: Call for heat back to the boiler control.
- C: Common power, used when the boiler and thermostat support it.
Many boiler systems use only R and W. If a C terminal is available, connect it only when the thermostat and boiler diagram call for it. If the system has zone valves, relays, or a control board, the wiring may land at those components instead of directly at the boiler.
Ensure the copper ends are clean and straight. If a wire is frayed, trim it and strip about 1/4 inch of insulation. For more residential wiring basics, see Power Up Your Knowledge: A Beginner’s Guide to Home Wiring.
For more technical diagrams on specific boiler brands, How to Wire a Thermostat to a Boiler – Engineer Fix can be useful.
Solving the C-Wire Requirement for Smart Systems
Smart thermostat compatibility depends on the thermostat model and the boiler controls. Many smart thermostats need a C-wire or approved power accessory, but some can work with batteries, adapters, or a power extender kit.
What if I only have two wires?
If the old thermostat has only R and W, you may still have options:
- Look for an unused conductor: Extra wires may be tucked behind the thermostat or at the boiler.
- Use an approved power extender kit: Some smart thermostats include an adapter installed at the equipment end.
- Add a 24V transformer or C-wire adapter: This must be wired according to the thermostat and boiler instructions.
Avoid “power stealing” setups unless the thermostat manufacturer approves them for your boiler. On some systems, they can cause clicking, buzzing, or unreliable heat calls.
For a smart thermostat walkthrough, see Wire Up Your World: A Smart Thermostat Installation Walkthrough. You can also review How To Connect Boiler To Thermostat? – Easy Step-by-Step.
Ohio Electrical Standards and Troubleshooting
Boiler thermostat wiring should follow the electrical code currently adopted in Ohio, local authority requirements, and the equipment manufacturer’s instructions. Even when the thermostat circuit is low-voltage, the boiler’s power supply, disconnecting means, grounding, and nearby wiring still matter.
Troubleshooting Common Issues
After installation, set the thermostat to heat and raise the setpoint above room temperature. Confirm the thermostat shows or clicks for a heat call, then verify the boiler responds at the equipment.
| Symptom | Likely Causes | Priority Level |
|---|---|---|
| Thermostat screen is blank | Missing C-wire, dead batteries, or no accessory power | High |
| Boiler will not fire | Incorrect R/W connection, open safety, relay issue, or control-board issue | High |
| System short-cycles | Poor thermostat placement, loose wire, or control issue | Medium |
| No power to thermostat | Breaker, service switch, transformer, GFCI, or wiring problem | High |
If there is no voltage where expected, or if labels do not match the wiring diagram, stop before guessing. Problems may be at the breaker, transformer, relay, zone valve, or boiler control board.

Frequently Asked Questions about Boiler Thermostat Wiring
Is it safe to do this myself?
It may be safe if the system is confirmed low-voltage, power is off, labels are clear, and the new thermostat matches the manufacturer diagram. Stop and call a licensed electrician if you see charred wires, water intrusion, unclear labeling, line-voltage wiring, or unfamiliar boiler controls.
Can I use a smart thermostat with an older two-wire boiler?
Often, yes, but it depends on the model. Many smart thermostats need a C-wire or approved power accessory, while some can run on batteries, adapters, or a power extender kit. Confirm compatibility before purchasing or wiring the thermostat.
How do I test the connection after installation?
Turn power back on, set the thermostat to heat, and raise the setpoint several degrees above room temperature. Confirm the thermostat sends a heat call, then verify the boiler response at the equipment — such as a relay click, circulator start, or burner ignition sequence.
Conclusion
Connecting a thermostat to a boiler can improve comfort and make an older heating system easier to control, but safety and compatibility come first. Verify low voltage, shut off and test power, label every wire, and follow the thermostat and boiler diagrams.
Buckeye Electrical Solutions serves Northeast Ohio homeowners with residential electrical repair, installation, and heating-control support. If your boiler has zone valves, relays, unclear labels, water damage, or line-voltage controls, let a licensed professional handle the wiring.
Ready to take the next step in your smart home journey? See our Wire Up Your World: A Smart Thermostat Installation Walkthrough for more tips.
Note: All service pricing or estimates provided by Buckeye Electrical Solutions are subject to change and dependent on local site conditions or AHJ (Authority Having Jurisdiction) requirements.