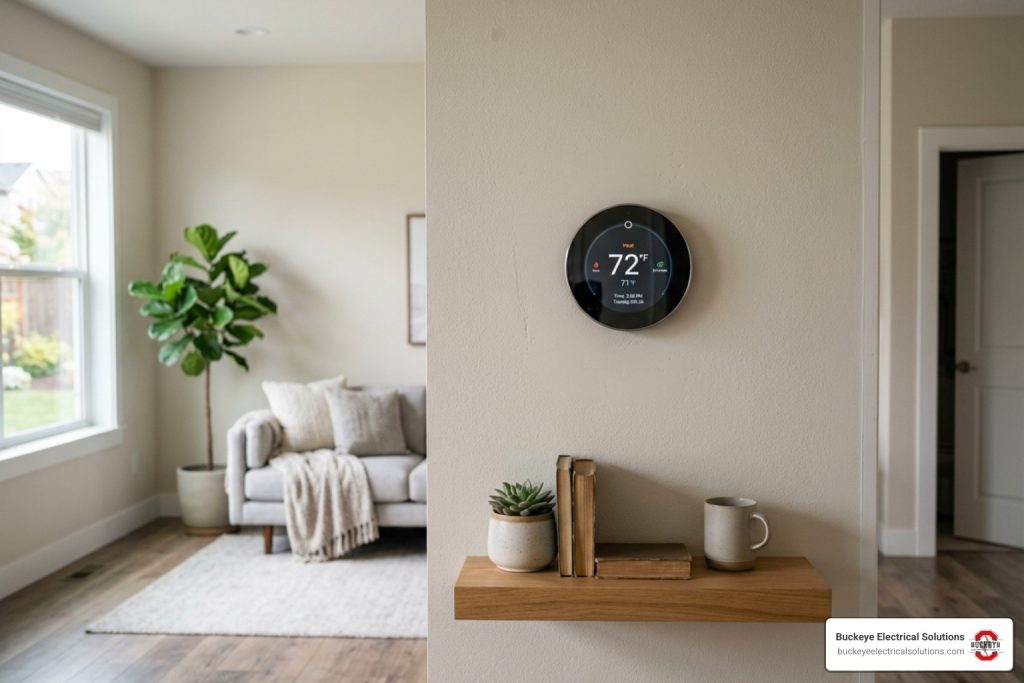
How to Hook Up a Thermostat in Your House: A Quick-Start Overview
Learning how to hook up a thermostat in your house can be a reasonable DIY project only if your home has a compatible 24-volt low-voltage HVAC system and the wiring is clearly labeled. If you have high-voltage baseboard heat, radiant ceiling heat, a dual-fuel system, proprietary communicating terminals, or wiring you cannot identify with confidence, stop and call a licensed professional.
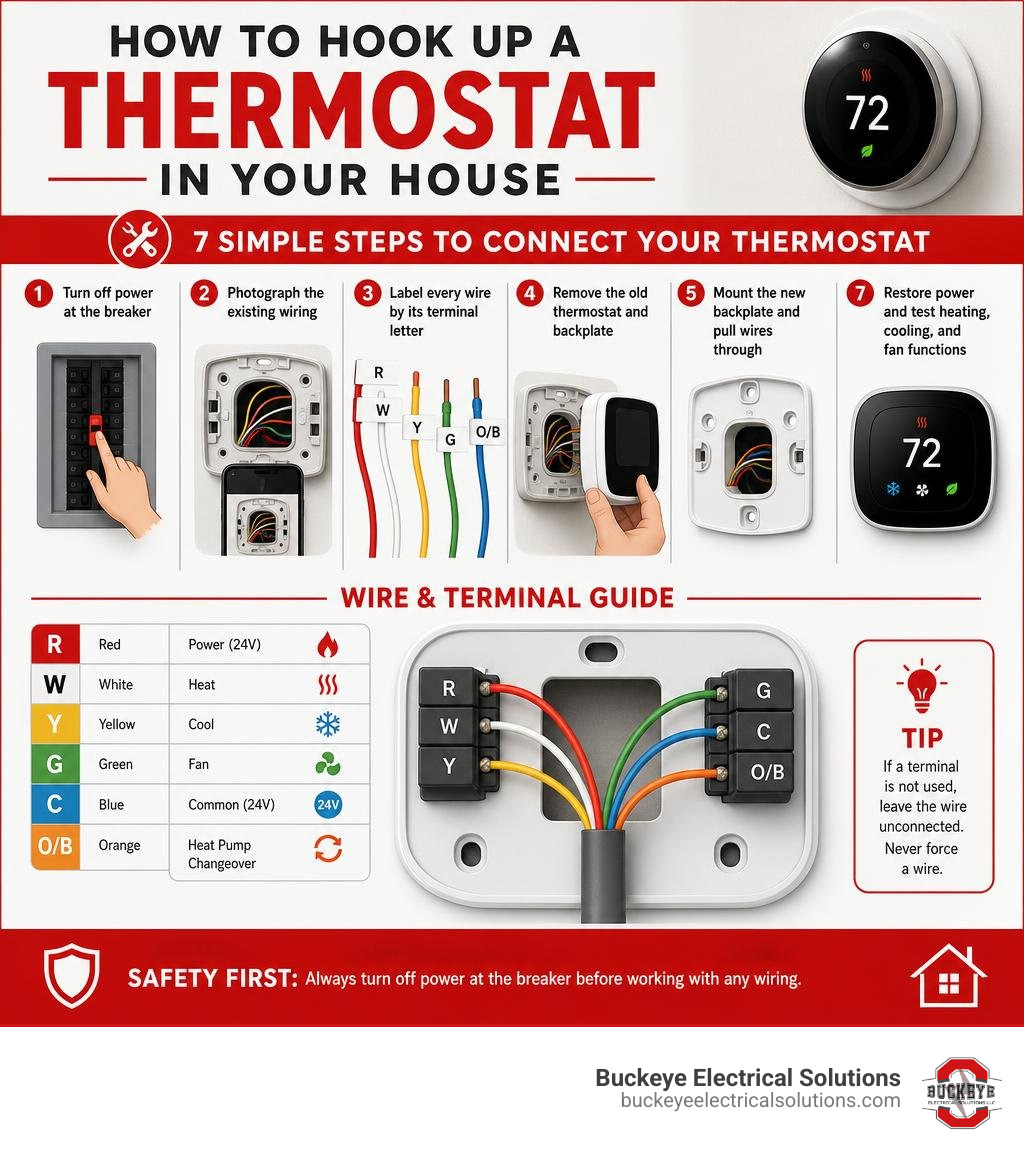
For compatible low-voltage systems, the basic process is:
- Turn off power at the HVAC breaker and furnace switch
- Photograph the existing wiring before loosening anything
- Label every wire by its current terminal letter, not by color
- Remove the old thermostat and backplate
- Mount the new backplate and pull wires through
- Connect each labeled wire to the matching terminal
- Restore power and test heat, cooling, and fan operation
This guide applies to standard 24-volt thermostat wiring. It does not apply to 120V or 240V line-voltage thermostats, and it is not a substitute for professional help when the system type is unclear.
A programmable or smart thermostat can improve comfort and may reduce heating and cooling costs, but only when it is compatible with your HVAC equipment and configured correctly.
I’m Aaron, owner of Buckeye Electrical Solutions LLC and a master electrician serving Northeast Ohio. I’ll walk you through the safe, practical steps for a compatible low-voltage thermostat swap — and the situations where DIY should stop.
Safety First: How to Hook Up a Thermostat in Your House Safely
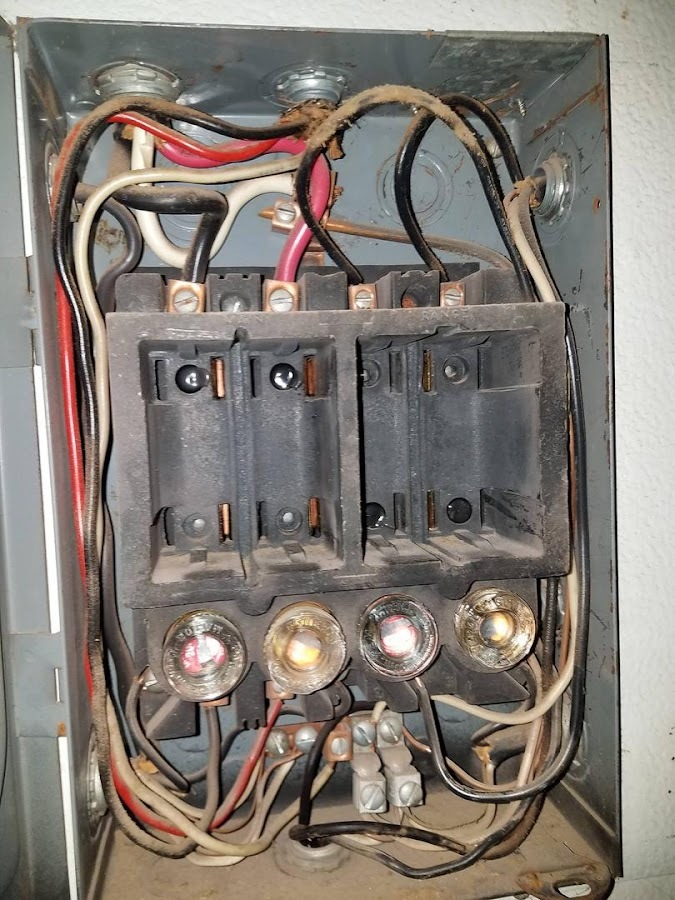
Before touching any thermostat wire, confirm what type of system you have. Many US homes use 24-volt low-voltage HVAC controls, but older homes and electric heating systems may use 120V or 240V line voltage. A standard low-voltage smart thermostat must never be connected to a line-voltage system.
A great starting point is our Power Up Your Knowledge: A Beginner’s Guide to Home Wiring, which explains basic home wiring concepts.
Stop and call a professional if you see thick wires joined with wire nuts, labels such as “120V” or “240V,” unfamiliar terminal markings, burnt wiring, missing labels, or anything that does not match the new thermostat’s instructions. For standard low-voltage systems, the work is lower risk, but power still needs to be shut off and verified before handling wires. For tool safety, see The Ultimate Guide to Electrical Testers: What They Are and How to Use Them.
Consumer Reports also provides helpful product-selection and safety guidance in How to Install a Smart Thermostat.
Essential Tools for Thermostat Installation
Gather your tools before removing the old thermostat:
- Screwdrivers: Small flathead and medium Phillips.
- Wire strippers: For damaged or corroded wire ends.
- Non-contact voltage tester or multimeter: To verify power is off.
- Painter’s tape or labels: To mark each wire by terminal letter.
- Level: To align the new backplate.
- Drill and bits: For new drywall anchors if needed.
- Needle-nose pliers or tape: To keep wires from slipping into the wall.
Safely Powering Down Your HVAC System
Do not rely on the thermostat’s “off” setting. Cut power at the equipment before removing the faceplate.
- Go to the main breaker panel.
- Turn off the breaker labeled “Furnace,” “Air Handler,” “AC,” or “HVAC.” If the indoor and outdoor units have separate breakers, turn off both.
- Turn off the furnace service switch if one is mounted near the unit.
- Try calling for heat or cooling at the old thermostat and wait several minutes. Nothing should start.
- Remove the faceplate carefully and verify the wires are not live before disconnecting them.
Decoding Thermostat Wiring and Terminal Labels
The key to learning how to hook up a thermostat in your house is to follow terminal labels, not wire colors.
Wire colors often follow conventions, but previous installers may not have used them consistently. If you wire a new thermostat by color alone, you can create system malfunctions or damage equipment. For manufacturer guidance, see How to Wire a Thermostat – Honeywell Home.
Understanding Wire Colors When Learning How to Hook Up a Thermostat in Your House
Most low-voltage residential thermostat cables use 18-gauge solid copper conductors with 3 to 8 individual wires. Use this as a general reference only, and always compare it with the old terminal labels:
- R, Rc, Rh (Red Wire): 24V power from the transformer. Rh is heating power, Rc is cooling power. Many single-transformer systems use one R wire with a jumper between Rh and Rc.
- W or W1 (White Wire): Primary heating call.
- Y or Y1 (Yellow Wire): Air conditioner compressor call.
- G (Green Wire): Indoor blower fan.
- C (Blue or Black Wire): Common wire for continuous 24V power, often needed by smart thermostats.
- O/B (Orange or Blue Wire): Heat pump reversing valve.
What to Do If Your System Lacks a C-Wire
Older manual or battery-powered thermostats may not use a C-wire. Smart thermostats often need one for steady 24V power.
If no wire is connected to the C terminal, you may have several options:
- Look for a hidden wire: An unused blue or black wire may be tucked behind the old thermostat. If found, it must be connected to C at both the thermostat and furnace control board.
- Use a C-wire adapter or Power Extender Kit: Many smart thermostat brands offer adapters that install at the furnace control board.
- Install an external 24V transformer: This may work for some thermostat models, but it must be wired according to the manufacturer’s instructions.
- Choose a thermostat designed for no C-wire: Some models use batteries or power-stealing, but compatibility varies by system.
If you are not comfortable opening the furnace cabinet or identifying the control board terminals, hire a professional.
Step-by-Step Guide to Installing Your New Thermostat
Once you have confirmed your system is compatible, the power is off, and the wires are identifiable, you can begin. If anything does not match the thermostat manual, pause before disconnecting wires. For safer troubleshooting, see Don’t Get Zapped: Expert Advice for Electrical Troubleshooting.
For additional visuals, review How to Install a Thermostat: 7 Steps + Wiring Diagram or How To Install A Smart Thermostat | Ask This Old House – YouTube.
Step-by-Step Wiring Process to Hook Up a Thermostat in Your House
- Photograph the old wiring: Take a clear photo of every wire and terminal before removing anything.
- Label the wires: Label each wire by the terminal it is currently connected to. If a blue wire is on Y, label it Y, not “blue.”
- Secure the wires: Tape the bundle to the wall or clamp it with needle-nose pliers so it cannot fall into the wall cavity.
- Remove the old baseplate: Unscrew it carefully. If the old thermostat contains a mercury bulb, follow local hazardous waste disposal rules. For related wall-repair basics, see How to Install a Thermostat – Eco Actions – The Home Depot.
- Mount the new backplate: Pull wires through the opening, level the plate, mark holes, and install anchors if needed.
- Connect the wires: Insert each labeled wire into the matching terminal. Make sure each wire is firmly seated with about 1/4 inch of bare copper exposed.
- Attach the faceplate: Tuck excess wire into the wall without pinching it, then snap the thermostat onto the base. For brand-specific steps, see Install your Nest thermostat – Google Nest Help or the Nest Installation Guide.
Testing and Optimizing Your New Thermostat
Restore power only after the faceplate is secured. If the thermostat boots up, follow the setup prompts. Smart models may require Wi-Fi, equipment type, heat pump settings, and O/B reversing valve configuration. For additional setup context, see How to Install a Smart Thermostat (DIY Guide) | Watt Wise or Your Ultimate Smart Thermostat Installation Guide.
Run a complete operational test:
- Test heating: Set the thermostat to “Heat” and raise the target temperature. Confirm warm air starts after the normal delay.
- Test cooling: Set it to “Cool” and lower the target temperature. Confirm the outdoor condenser and indoor blower start.
- Test fan: Switch the fan from “Auto” to “On” and confirm the blower runs.
If your system behaves unexpectedly, turn it off and review the wiring photo before making changes.
| Symptom | Likely Causes | Priority Level |
|---|---|---|
| Thermostat display remains blank | Tripped breaker; blown furnace fuse; loose C-wire; open furnace door safety switch | Medium |
| System blows cool air during heat | O/B heat pump setting incorrect; W wire mismatch | High |
| Blower fan runs constantly | G wire shorted or miswired; fan set to “On” | Low |
| Outdoor AC unit does not turn on | Loose Y wire; outdoor breaker tripped; built-in system delay | Medium |
When to Call a Professional HVAC Technician in Ohio
A thermostat swap can be simple on a compatible low-voltage system, but some installations are not safe DIY projects. Call a licensed electrician or HVAC technician if you encounter any of the following:
- High-voltage line systems: Electric baseboard heaters, wall convectors, and radiant ceiling heat often use 120V or 240V thermostats. These require line-voltage controls, not standard smart thermostats.
- Dual-fuel or multi-stage systems: Heat pumps with gas or propane backup need correct staging and crossover settings. Incorrect setup can damage equipment.
- Proprietary or communicating systems: Terminals such as A, B, C, D or 1, 2, 3, 4 may not work with standard thermostat wiring.
- Unlabeled, brittle, burnt, or altered wiring: If the wiring does not match the old thermostat photo or the new manual, stop.
- Code or equipment questions: Any related electrical repair, panel work, or HVAC wiring change must comply with current Ohio requirements and the local Authority Having Jurisdiction.
For a look at more complex heating controls, see The Ultimate Drayton Cylinder Thermostat Wiring Guide.
Frequently Asked Questions About Thermostat Installation
Can I install a smart thermostat if my home lacks a C-wire?
Sometimes. Many smart thermostats can use a C-wire adapter, Power Extender Kit, batteries, or a no-C-wire design. Compatibility depends on your HVAC equipment and thermostat model. If the fix requires opening the furnace cabinet and connecting wires at the control board, call a professional if you are unsure.
How do I know if my existing thermostat is high-voltage?
Remove the faceplate carefully and inspect the wiring without touching bare conductors. Thick 12- or 14-gauge wires, wire nuts, or labels such as “120V AC” or “240V AC” indicate a high-voltage system. Low-voltage thermostat wires are usually thinner 18-gauge conductors.
What should I do if the thermostat display remains blank after installation?
First, turn the system back off. Then check that the furnace door is fully closed, the breaker has not tripped, and the R and C wires are seated correctly. A blank display may also mean a blown low-voltage fuse or a wiring mismatch. If the issue is not obvious, stop troubleshooting and call a professional before damaging the control board.
Conclusion
Hooking up a thermostat can be a practical homeowner project when the system is a compatible 24-volt low-voltage setup, the old wiring is clearly labeled, and the new thermostat matches the HVAC equipment. The safest approach is to photograph first, label by terminal letter, verify power is off, and test each function after installation.
If you want a related walkthrough, read Wire Up Your World: A Smart Thermostat Installation Walkthrough.
If you discover high-voltage wiring, complex equipment, unclear terminals, or unexpected behavior after installation, professional help is the safer choice. Buckeye Electrical Solutions serves Northeast Ohio with residential and commercial electrical repair, installation, and maintenance backed by more than 20 years of experience.
Pricing and estimates depend on site conditions and local Authority Having Jurisdiction requirements. Contact us to schedule a thermostat installation or electrical system assessment.